*FYI - this post may contain affiliate links, which means we earn a commission at no extra cost to you if you purchase from them. Also, as an Amazon Associate I earn from qualifying purchases. Check out our Privacy Policy and Disclosure. for more info.
If you’ve ever dreamt about taking the train across Canada, then this realistic and brutally honest guide is for you.
Once upon a time, as a doe-eyed Canadian keen to see more of her home country, I spent a month travelling from Vancouver to Halifax by train… in economy no less! So I feel uniquely qualified to talk you about the happy highs and lamentable lows of this bucket list journey.
Train travel in Canada is… special. It’s not particularly quick. Or affordable. It’s more often than not plagued with delays. And to be honest? Unless you’re travelling shorter distances (like along the Ontario & Québec routes), few Canadians use it.
But it truly is a once in a lifetime experience… so long as you have time to spare, a thick skin for delays and an above-average desire to spot blurry moose.
… Or, if you have a ton of money to throw at ‘made for tourist’ train journeys like the Rocky Mountaineer.
The point of this post is to be thorough though, so if it has always been your dream to travel Canada by train, today I’m going to walk you through the process, from start to finish, explaining all the potential options (not just the pricey ones).
I hope you find it helpful!
A Brief Introduction to the Canadian Rail System
Now, when it comes to long distance passenger rail services in Canada, e.g. if you’re planning to literally go from coast to coast, the main operator is VIA Rail.
The main routes offered by VIA Rail are…
- The Canadian: between Vancouver and Toronto (read my full guide to ‘the Canadian’ for more info)
- Ontario-Québec: between Windsor and Québec City
- The Ocean: between Montréal and Halifax
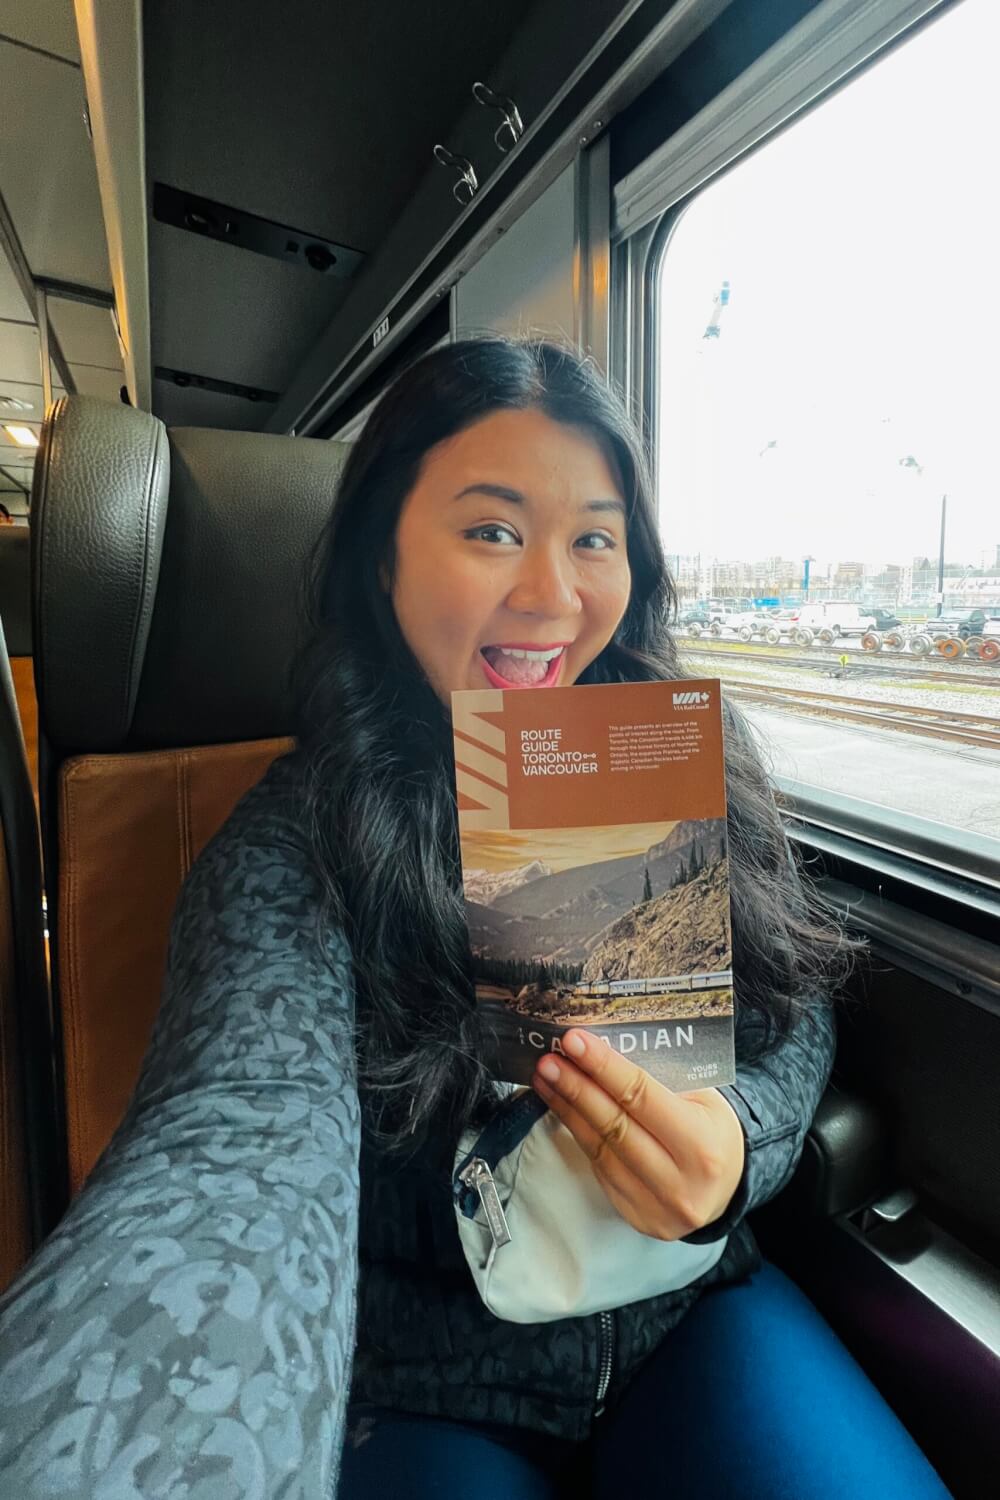
There are also other “scenic adventure routes” that they offer, like…
- Between Jasper and Prince Rupert (formerly known as the Skeena)
- Between Winnipeg and Churchill
- Between Sudbury and White River
- Between Montréal and Senneterre
- Between Montréal and Jonquière
There is also the luxurious Rocky Mountaineer, although they only service Western Canada, and are more meant to be a sightseeing tourism experience than a mode of transport.
Their three Canadian* routes are:
- First Passage to the West: Vancouver, Kamloops & Banff
- Rainforest to Gold Rush: Vancouver, Whistler, Quesnel, and Jasper
- Journey Through the Clouds: Vancouver, Kamloops, Jasper
*They also have their Rockies to the Red Rocks route, which covers Moab, Glenwood Springs, and Denver in the US.
Of course, there are also companies that offer commuter rail/rapid transit services within cities and their suburbs. To me, these don’t immediately come to mind when I think of “train travel in Canada” but I feel like I should include them nonetheless!
Prominent examples include…
- Translink, who operates the Skytrain and West Coast Express commuter train in Metro Vancouver
- TTC (Toronto Transit Commission), who operates the subway services in the Greater Toronto Area
- Metrolinx, who operate GO trains in Ontario
- Exo, who operate commuter trains in Québec
- and many more!
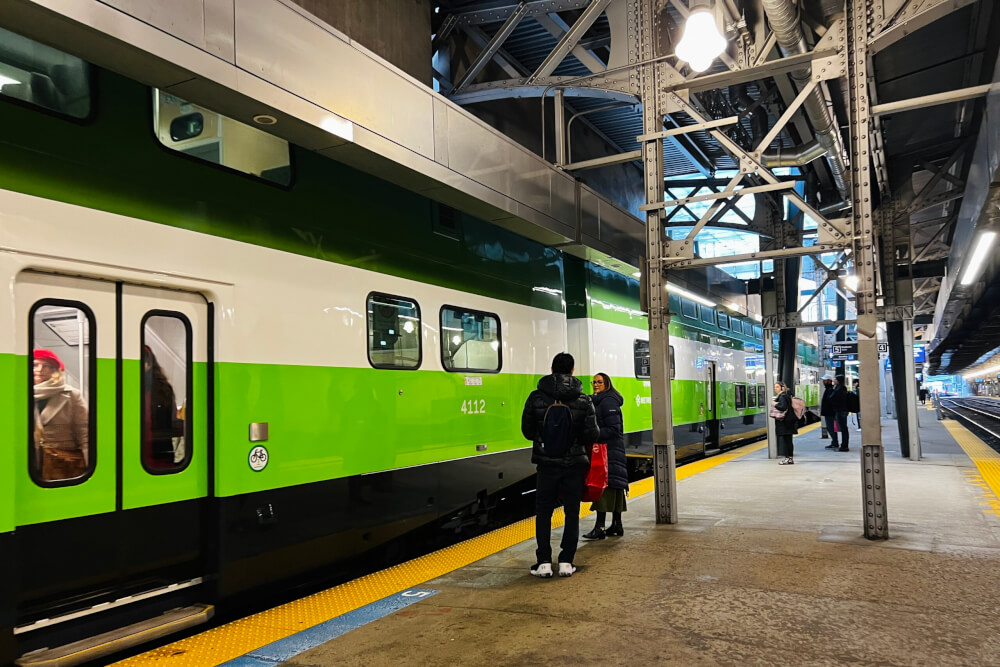
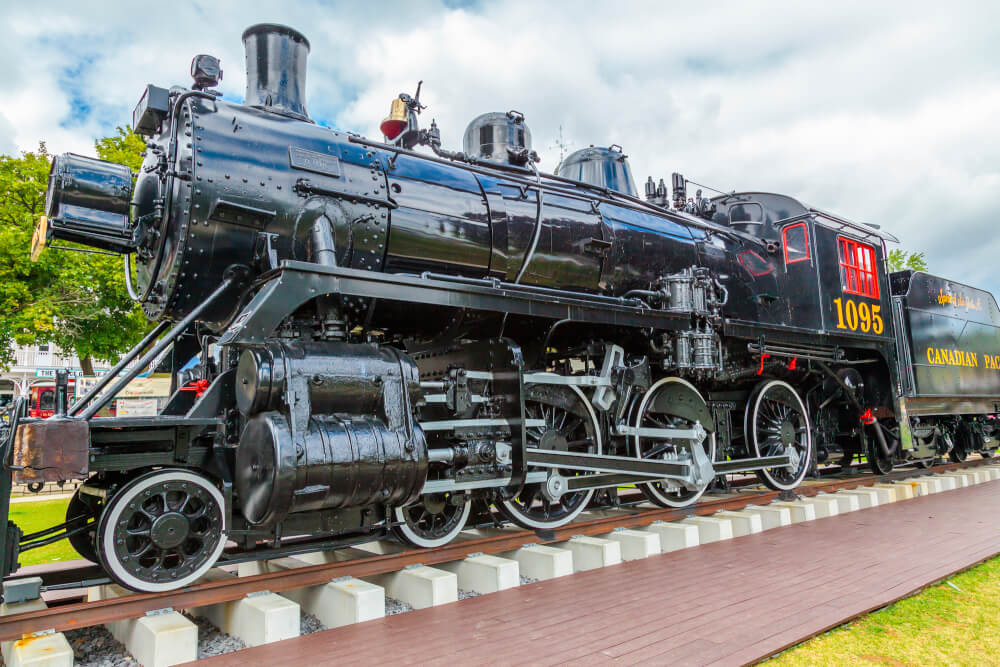
Finally, there are smaller heritage trains that exist around the country, though these are again more geared towards experience rather than actual transport. Some popular examples include…
- Southern Prairie Railway Heritage Train
- York–Durham Heritage Railway
- Port Stanley Terminal Rail
- Kettle Valley Steam Railway
- Alberta Prairie Railway Excursions
- White Pass & Yukon Route Railway
I’m going to be honest, train travel is seldom the mode of transport used by Canadians when it comes to covering longer distances.
Passenger rail in Canada only really makes sense if you are…
- Travelling a shorter distance (like between stops along the Ontario-Québec route)
- Travelling in a place where no other public transport is available (like between Jasper and Prince George)
- Looking for a scenic and unique experience, and don’t mind delays and a long journey
If your goal is to get from Point A to Point B in a punctual manner, flying will pretty much always be the better choice.
But overall, if you’re torn and want to compare all your options at a glance, Omio is a great app that shows you planes, trains, and buses from Point A to Point B. From there, you can gauge whether train travel suits your needs.
Do note though that longer distance VIA Rail trains like the Canadian do not have departures every day, so you might need to enter a few different dates to be able to compare rail options with flights.
Okay, with those basics out of the way, now I’m going to give an overview on how a train journey across Canada would work.
How to Actually Travel Across Canada by Train
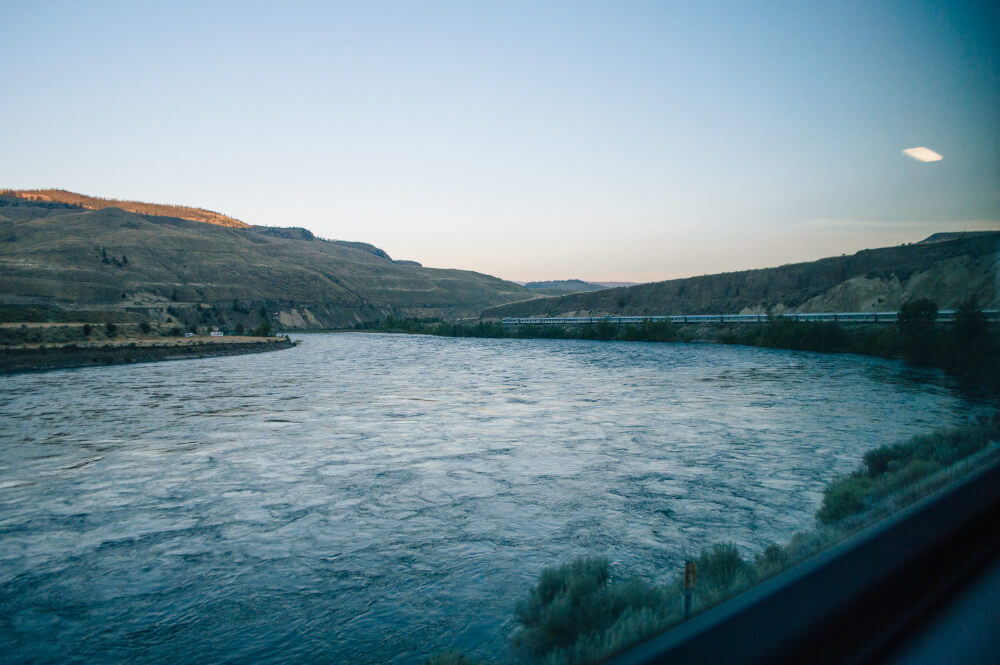
As the second largest country in the world with almost 50,000km of trackage available, travelling across Canada by train is almost like an endurance sport.
If your goal is to cover as much of the country as you can (going between Vancouver on the West Coast and Halifax on the East Coast), your journey would have to be broken down into the following segments:
- The Canadian from Vancouver to Toronto, which takes about four days
- A train from Toronto to Montréal, which takes about 5 hours
- The Ocean from Montréal to Halifax, which takes another full day (almost 24h)
… a total journey of about a week, with no delays or breaks for sightseeing.
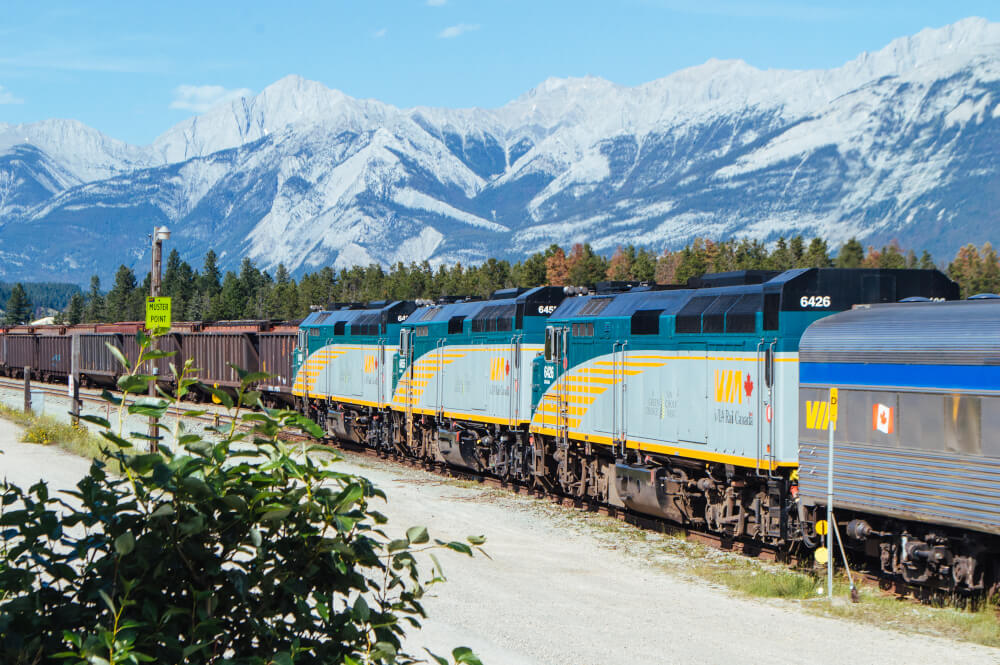
This is why the Rocky Mountaineer has emerged as such a popular option for those keen on train travel in Canada – you get a lot of dramatic scenery in one compact and comfortable trip. But hey, if you’re looking to go fully coast to coast, then this route is the way to do it!
NOTE: Travelling across Canada by train can only take you through 8/10 Canadian provinces and 0/3 territories – the VIA Rail network does not extend to Prince Edward Island, Newfoundland & Labrador, or the three territories of Yukon, Northwest Territories & Nunavut. So, while it’s a cool journey, you’ll have to do some extra travelling to cover all of Canada’s provinces and territories.
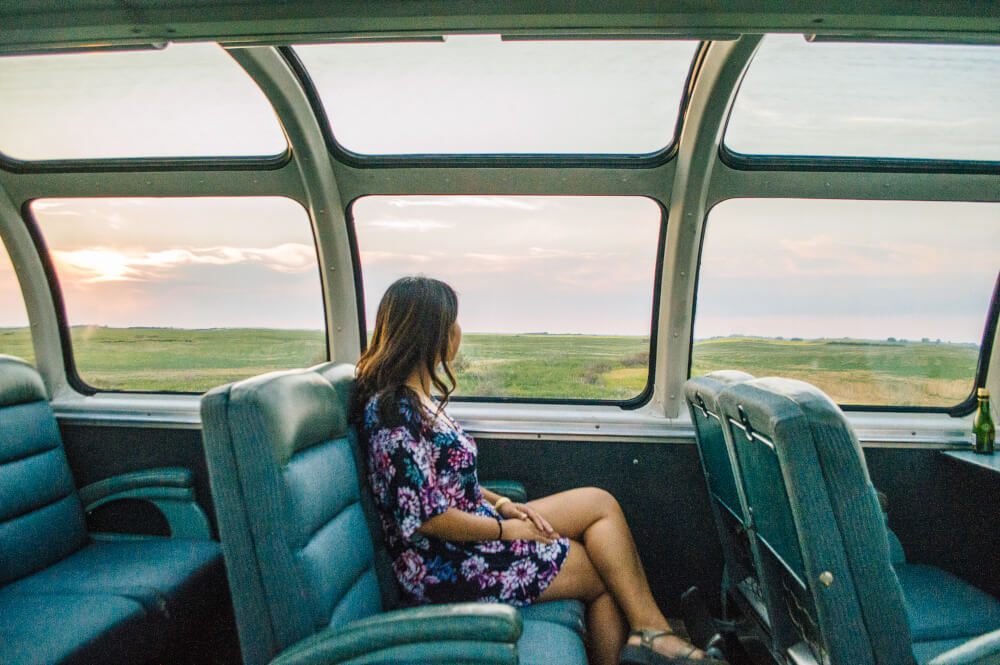
So, if after all this, you’re still keen to go, I’m going to run through the step by step process for making it happen!
For the rest of the article, I’ll be focusing on long distance passenger rail through VIA Rail because I assume this is the information most people are interested in as far as a trip across Canada is concerned, but do beware that buying train tickets for other trains like local commuter trains, heritage trains, etc. will follow a different process. Be sure to check each operator’s official website for more info.
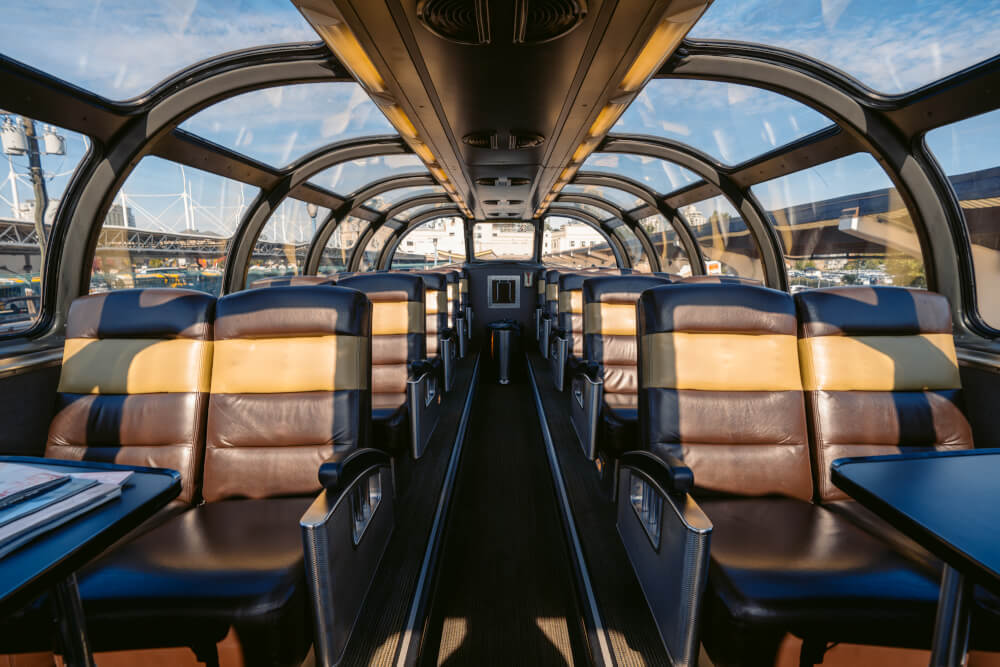
Step One: Buying Tickets
Train travel in Canada is often known for being expensive, and it can be…
But if you’re flexible, there can be some great deals! Pricing for VIA Rail is dynamic, meaning prices can change even throughout the day, but generally speaking the best deals will always be…
- During off-season (e.g. winter)
- In economy class (of course)
Usually, booking early on a Tuesday is your best bet for scoring cheap deals at regular price. Why Tuesday? VIA Rail has a weekly deal day known as ‘Discount Tuesday’ where you can save some money with the code TUESDAY. Once upon a time, the discount was 10% but they are more vague with the wording now so I assume the discounts vary based on availability.
If you are flexible, they also have a very handy Lowest Fares page that will show you the best deals departing from your city. This can be used to score some very good discounts in off-season for sleeper cabins, etc. I was looking into this earlier in the year and there were sleeper cabins available for 50% off!
VIA Rail also offers discounts for…
- CAA Members
- Age 65 +
- Children
- Youth and student travellers
- Indigenous persons
- Canadian military
- Groups
- Corporate
NOTE: As of 2024, VIA Rail is in the process of rehauling their passes/loyalty program, so I will update this page when they release more information. Historically there have been different passes and cards you could purchase to save money, so hopefully some form of those will return.
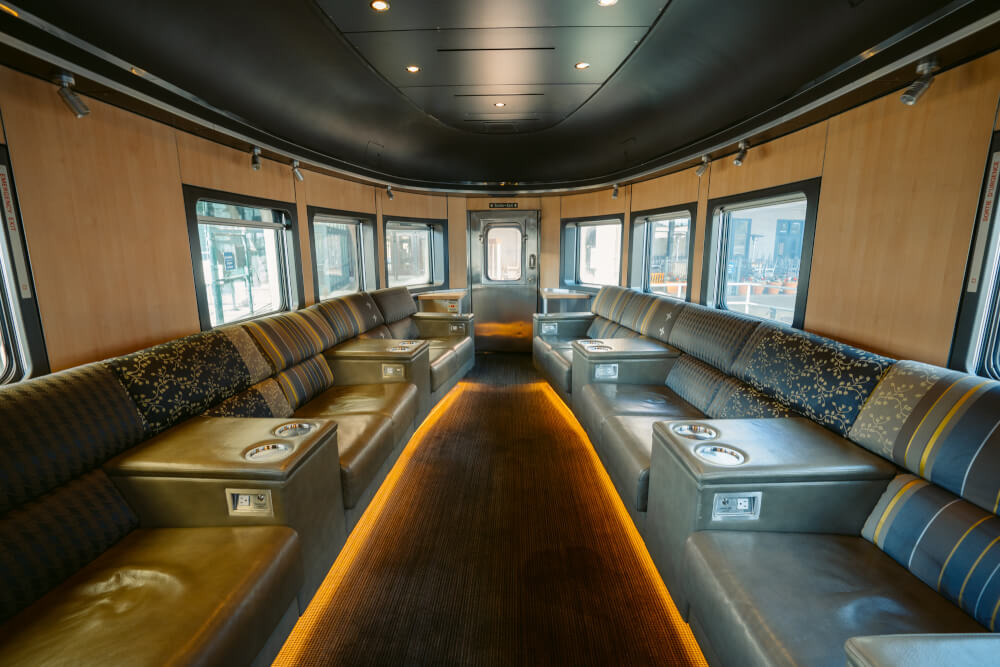
Here are the considerations to make when you are booking tickets:
When to book your trip
Having done both a winter and summer Canadian train trip, I can say both seasons come with their pros and cons.
Summer of course comes with the perk of extra daylight hours, and a better chance at sunny weather. The downside however is that prices and demand go up at this time, so the trains will likely be much busier and your ticket will cost you more.
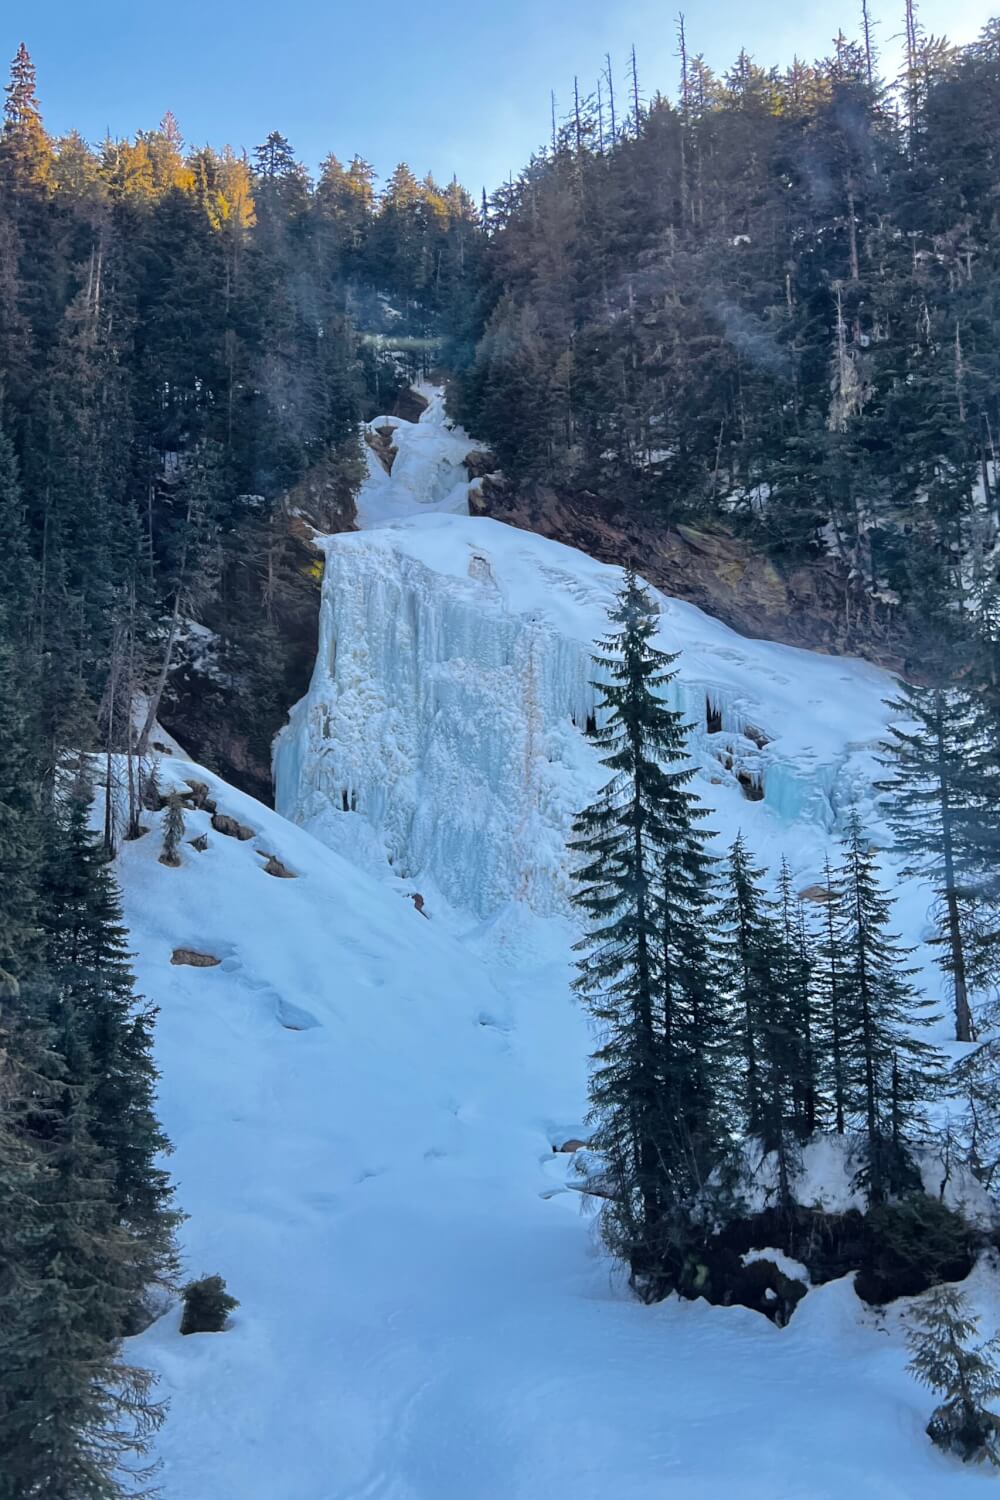
Winter might sound dark and depressing, but actually with snow in the mix, it can be fairly magical! When in doubt, the tail end of winter (March) may be worth considering. My most recent trip was March of last year and there were many moments that I practically had the dome car to myself! On the Prince George to Prince Rupert route, I was literally one of five passengers.
So, needless to say, the off-season is overall a much more peaceful time to travel, plus you get the beautiful snow-dusted landscapes… a total win win.
One long journey vs. multiple legs
The next consideration to make when booking Canadian train tickets is whether you are going to be making any stops during your trip from Point A to Point B.
If the answer is yes, then unfortunately with VIA Rail, this means that you need separate tickets for every segment of your trip. So, for instance, if you were booked on the Canadian from Vancouver to Toronto, and if you wanted to stop somewhere mid-way for a few days, you would need to book those journeys separately.
Once upon a time, VIA Rail offered a free stopover option in one city, but that no longer appears to be an option.

BUT there are scheduled rest stops on board some trains, like…
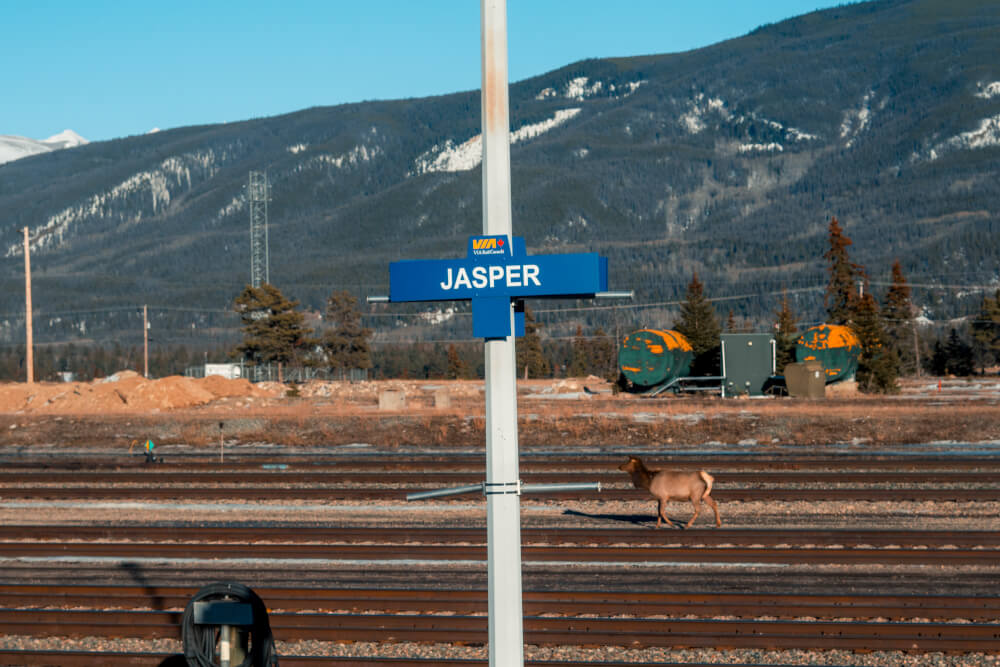
- On the Canadian (if there aren’t significant delays), you get a few hours in Jasper, Edmonton, and Winnipeg. These are however not guaranteed.
- On the Jasper – Prince Rupert route, there is a mandatory overnight stay in Prince George
On board the Canadian, I stopped in Jasper, Saskatoon, and Winnipeg (skipping Kamloops and Edmonton, as I had been there before), which was great because I got to explore new cities in Canada I never had the opportunity to.
I also spent a few days in Montréal before hopping on the Ocean, and a few days in Halifax before making the journey back.
This did however mean that I had to book each leg separately, which was a bit more of a headache. So, do know that any stopovers will have to be booked manually through separate tickets, and hopping on/off with one ticket is not possible (at the time of writing – I really hope they introduce some kind of pass soon!)
One-way vs. Round-trip
If you are doing a long journey like the Canadian, I highly recommend only booking it one-way. The experience is great, but I don’t think it’s necessary to do it twice in a row. Instead, taking the train one-way and then flying would make much more sense (both financially and in terms of time).
If you have any time-sensitive commitments (e.g. a special event, or a flight home) then I would definitely coordinate it so that the train portion of your trip happens after said commitment… because again, the delays can be really bad (sometimes a few days’ late!)

Booking Class
Now the next and most important consideration when buying your train tickets in Canada is of course the booking class.
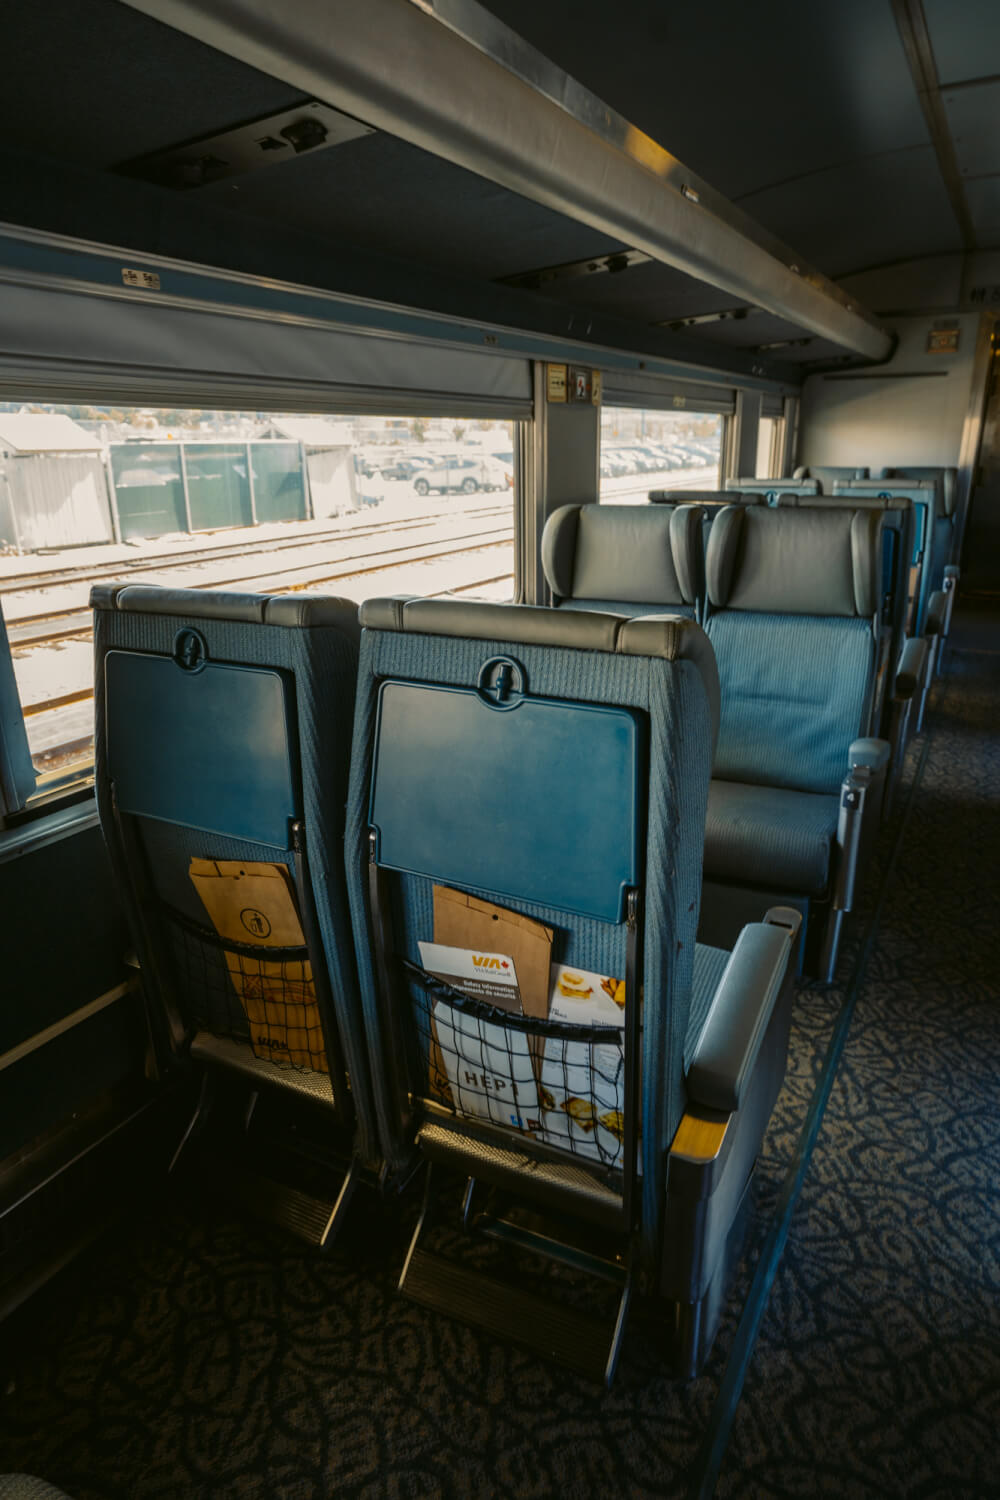
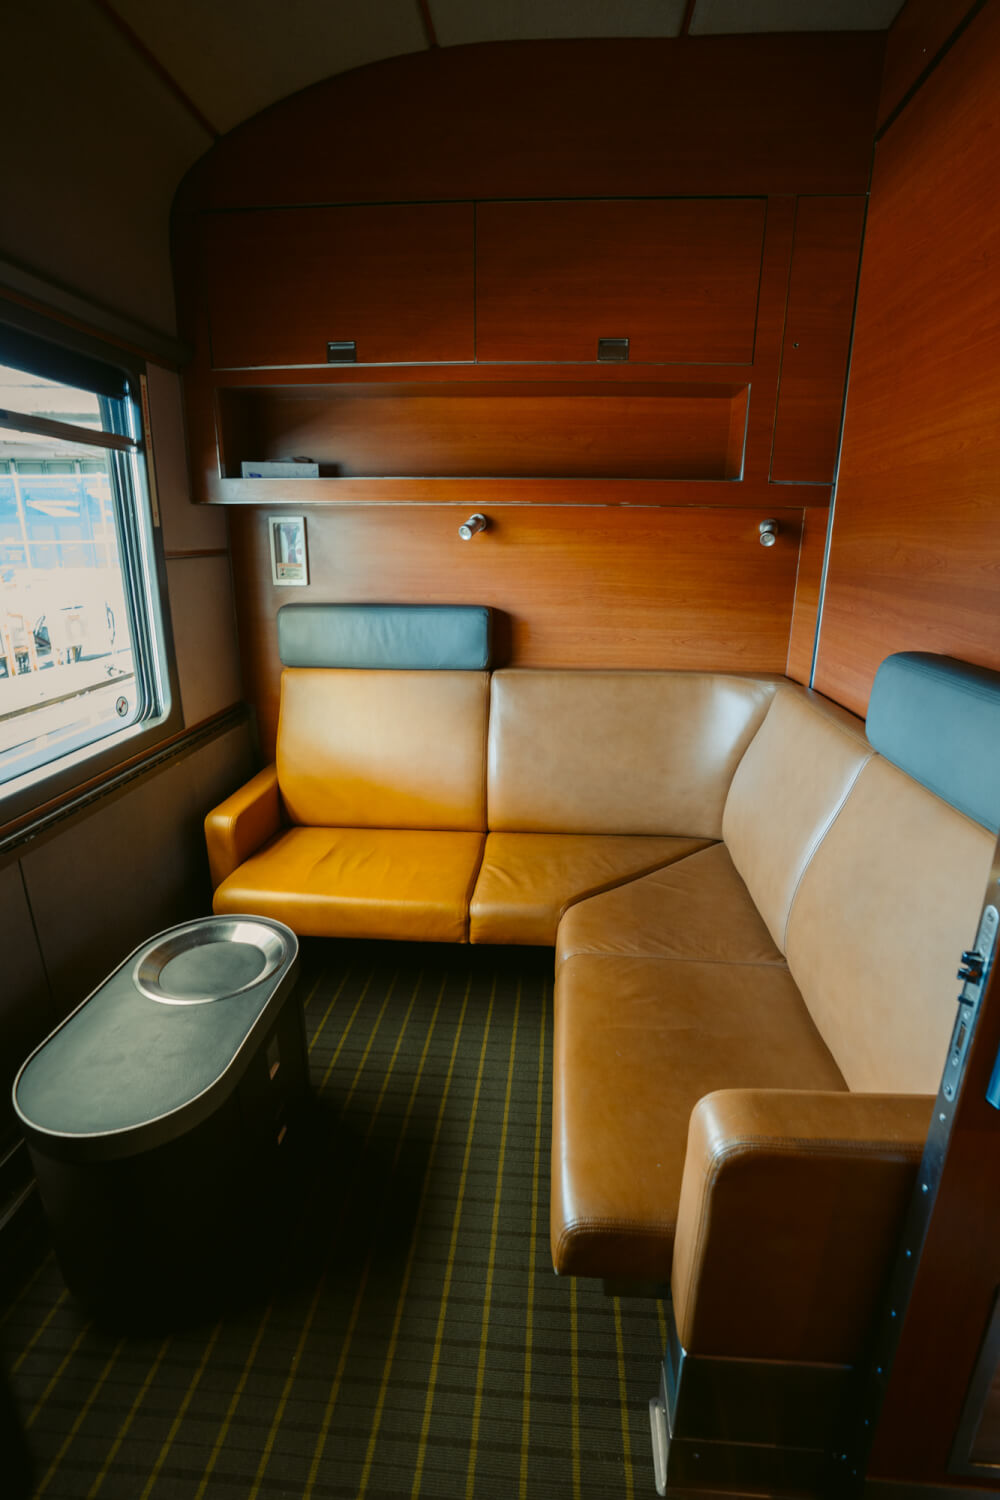
Naturally, the longer the journey, the more the booking class can make a difference. When it comes to any overnight trains, the booking class will make a huge difference in your experience. You can refer to my full guide to ‘the Canadian’ for more info, but on board that train, the classes are:
- Economy: No bed, you sleep in your (reclining seat), no shower, food options (mostly microwave meals) available for purchase
- Sleeper Plus: A bed to sleep in, all meals included, a shower in each car and private toilets in cabins
- Prestige: A private room with your own shower, plus perks like a concierge and all alcoholic drinks included
On board the Ocean, the classes are:
- Economy: No bed, you sleep in your (reclining seat), no shower, food options (mostly microwave meals) available for purchase
- Sleeper Plus: A bed to sleep in, all meals included, a shower in each car and private toilets in cabins
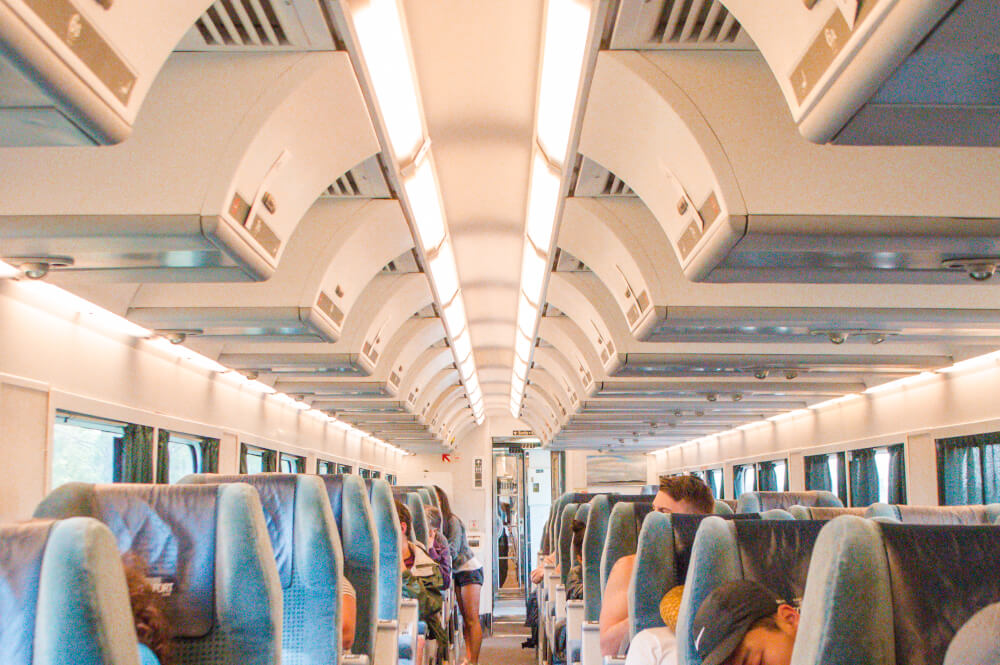
Just from this quick overview, you can probably tell that booking class can make a huge difference to your experience and budget for overnight journeys, so make sure you consider the pros and cons carefully before proceeding.
NOTE: On board shorter journeys like along the Ontario-Québec routes, the classes are Economy and Business, with the main perk of business simply being comfier seats and also additional baggage allowance, so the difference is less stark there.
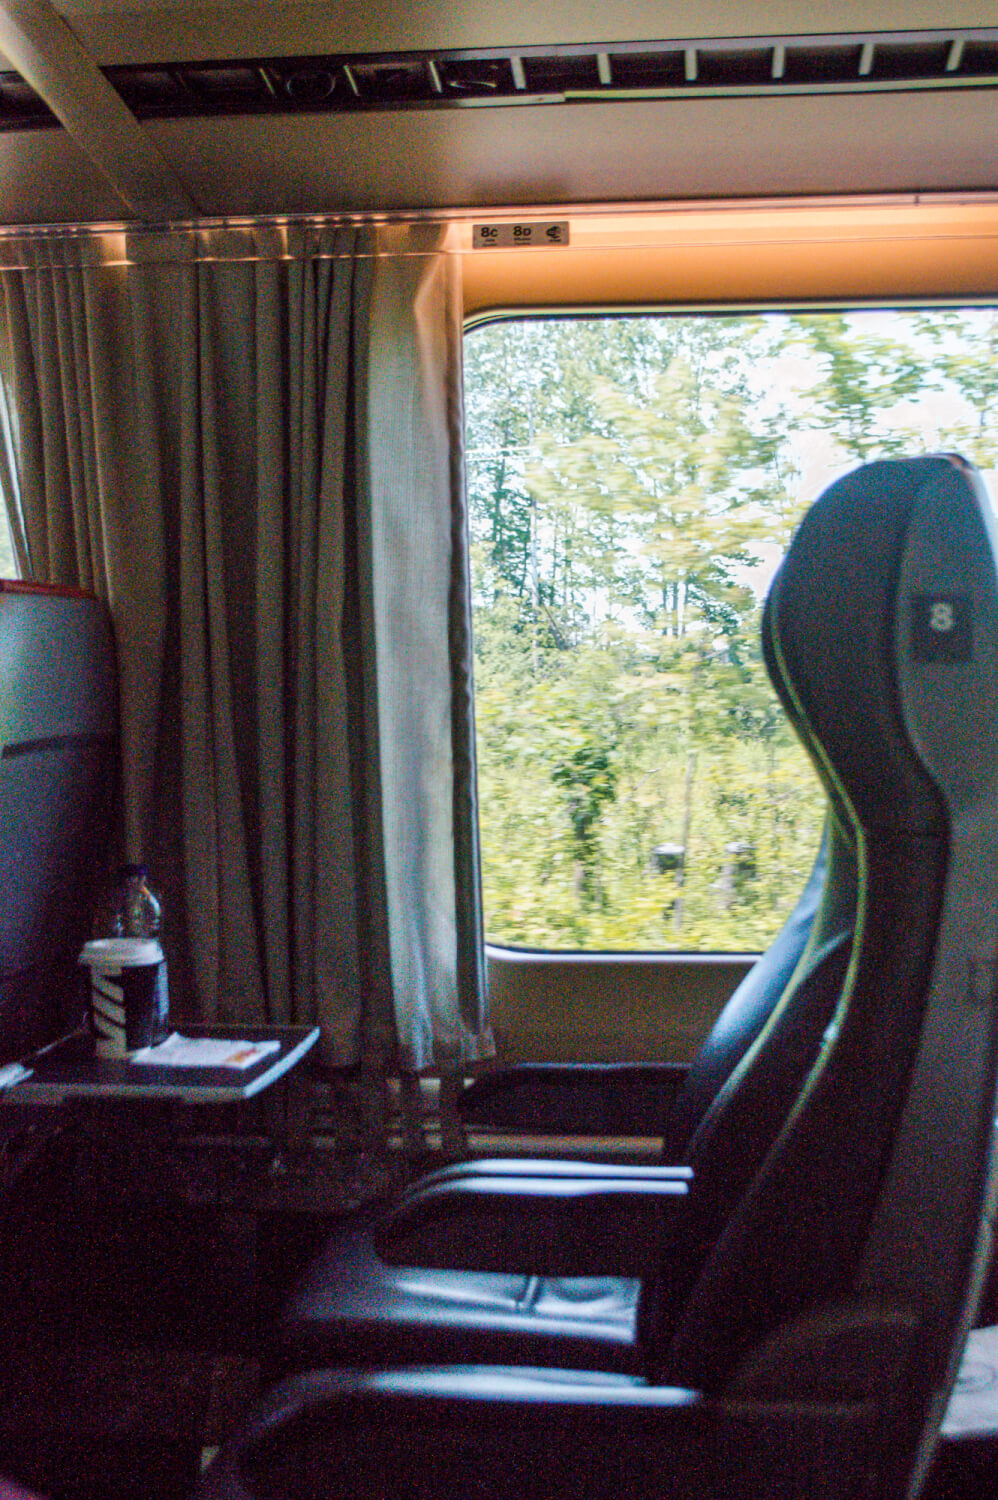
Cabin Types
Even within different classes however, there can be separate categories.
In Sleeper Plus class for instance, there is a distinction made between Berths and Cabins.
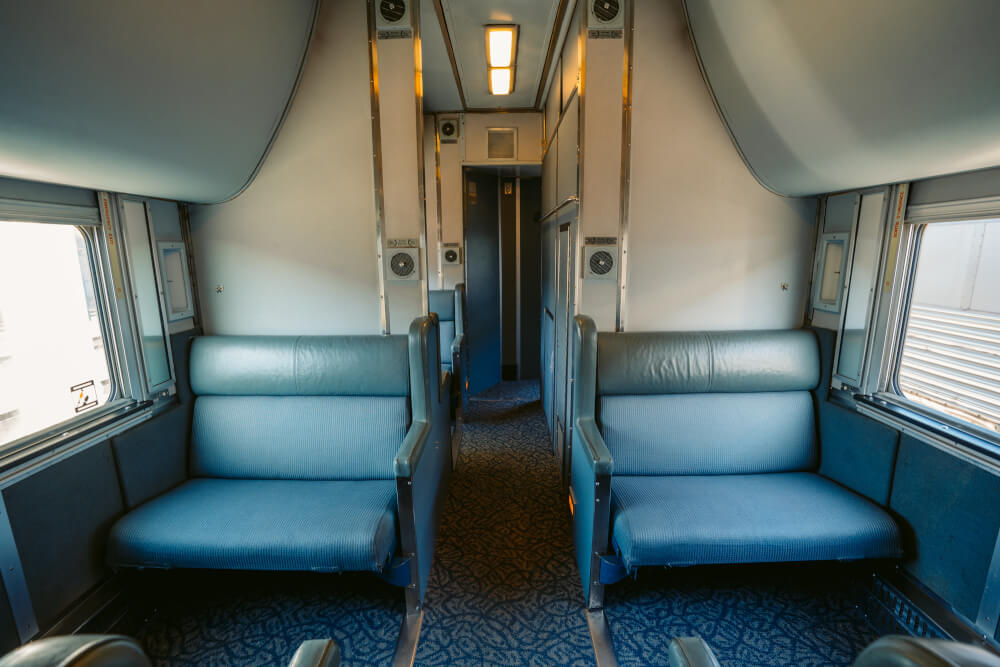
Berths are open plan seats that get converted into beds at night. They are made up of two seats that face each other during the day, then are pushed together to form the Lower Berth bed at night, while an Upper Berth bed folds out from the wall (like a makeshift top bunk).
NOTE: Berth passengers have access to both public washroom and shower facilities, though they do NOT have power outlets, so keep that in mind!
Cabins are self-contained rooms that have their own toilet and sink. They come in various configurations, including…
- Cabin for one
- Cabin for two
- Cabin for three
- Cabin for four (actually just two cabins for two combined, with the privacy barrier removed)
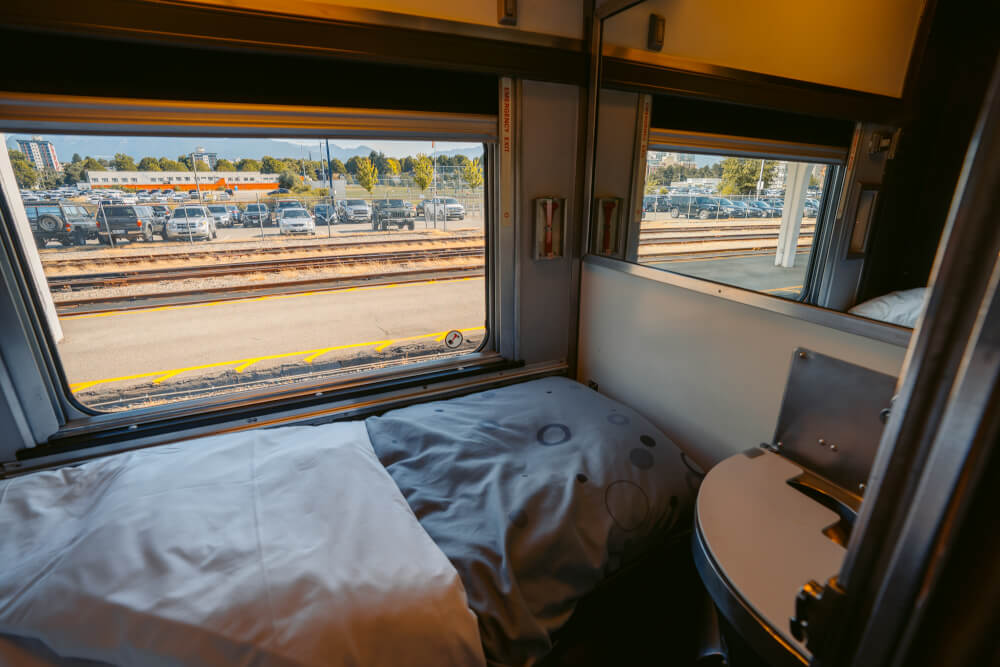
Overall, cabins are the pricier but more private option, though Berths are often to be more fun to make friends in. What you choose is up to you (and your budget!)
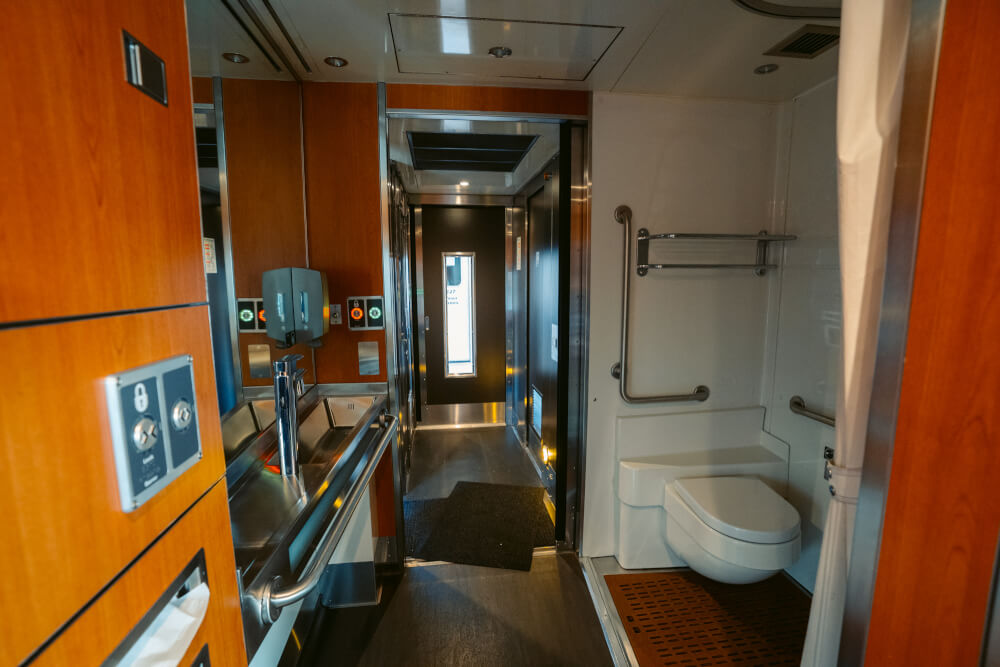
On board many trains there will also an Accessible Cabin option. On the Canadian for instance, they have a special accessible cabin on every train that is designed with wheelchair access in mind, and especially created for those whose mobility restrictions prevent them from exploring other parts of the train.
These cabins are more spacious, have a large accessible washroom, larger hallways, include room service, and consist of a bottom bunk and a fold-down top bunk for a helper (whose fare is waived). So, definitely something to consider if accessibility is a factor!
Once you’ve decided on all the factors above, it’s time to actually get your tickets!
The best way is just through the official VIA Rail website.
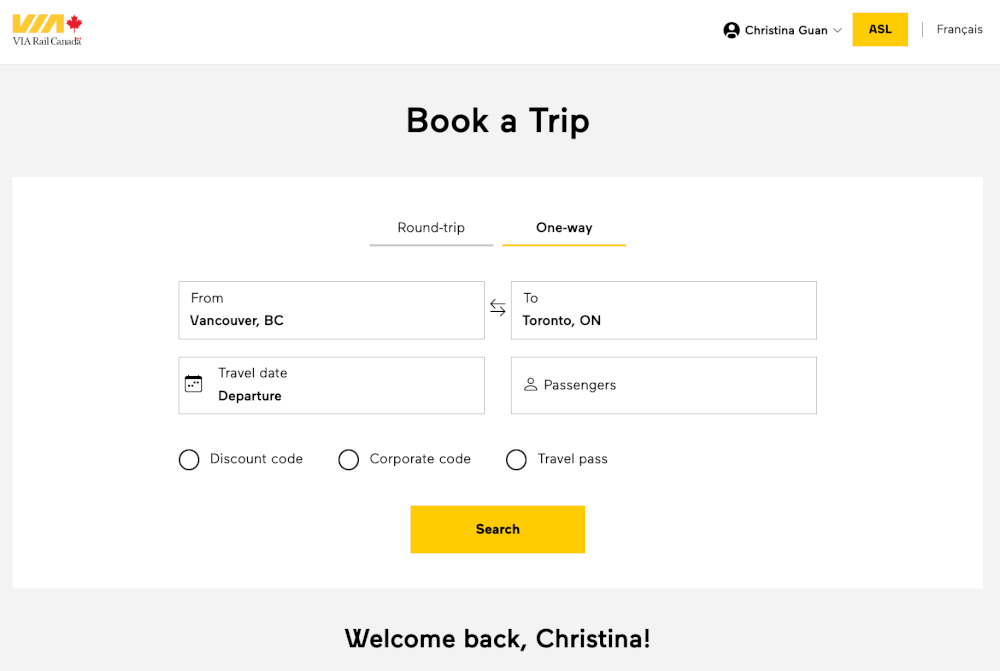
You start by choosing either Round-Trip or One-Way, then entering your departure point (from) and destination (to).
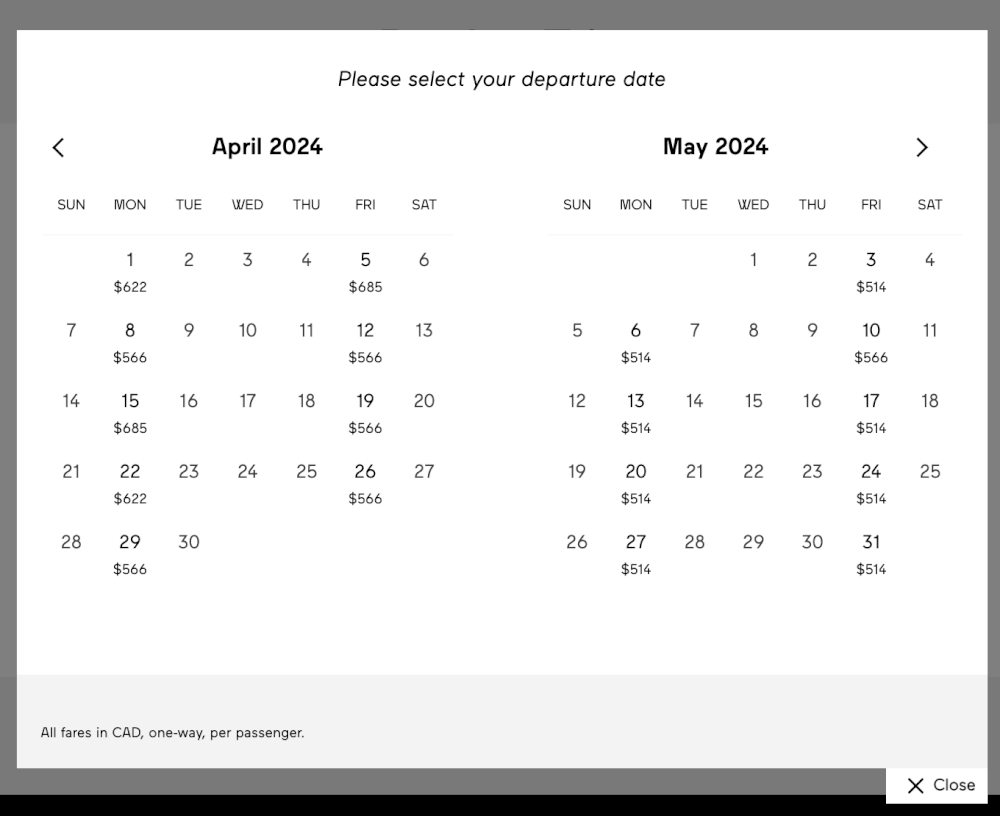
Then you can open up the departure date calendar which will show you the price of the cheapest available fare. Do note that this will always be the Economy fare you’re seeing, so don’t get too excited.
Once you browse and find a date you like the look of, enter the number of passengers, and click Search to see the available options.
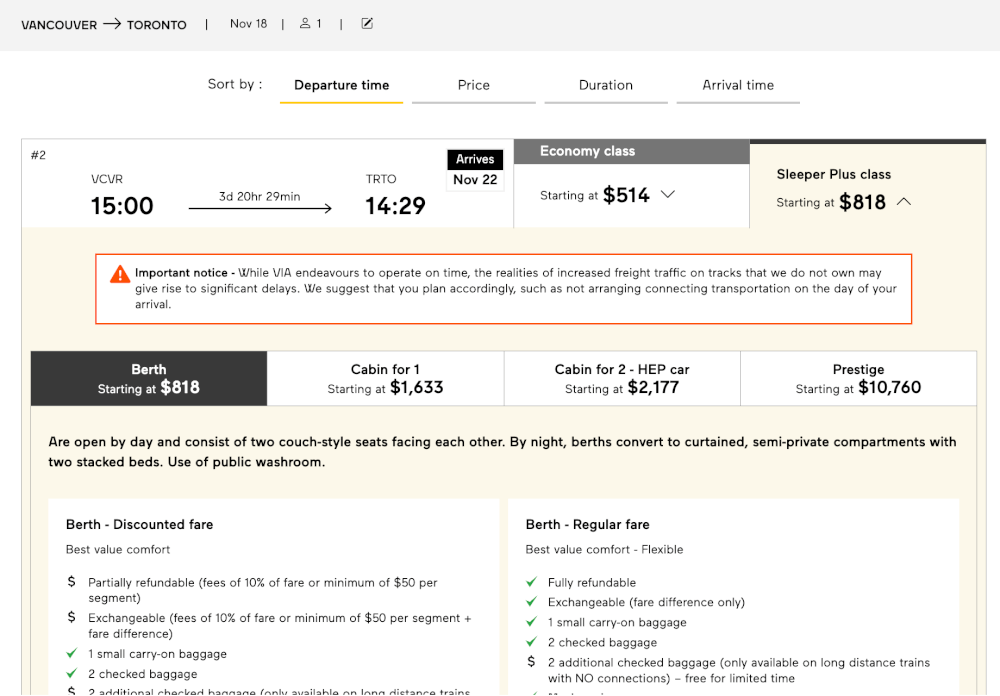
From here, you will be able to see the available fare classes for your dates. Sleeper Plus often sells out in peak season (as of March, I saw all the May departures were already sold out) so be sure to plan ahead.
From here you can choose between classes. Once you choose the right class, you may also be shown additional options within that class (like the different Berth and Cabin types for Sleeper Plus). Look at the options carefully as often they will present a cheaper pick that has more restrictive booking requirements (e.g. no refunds).
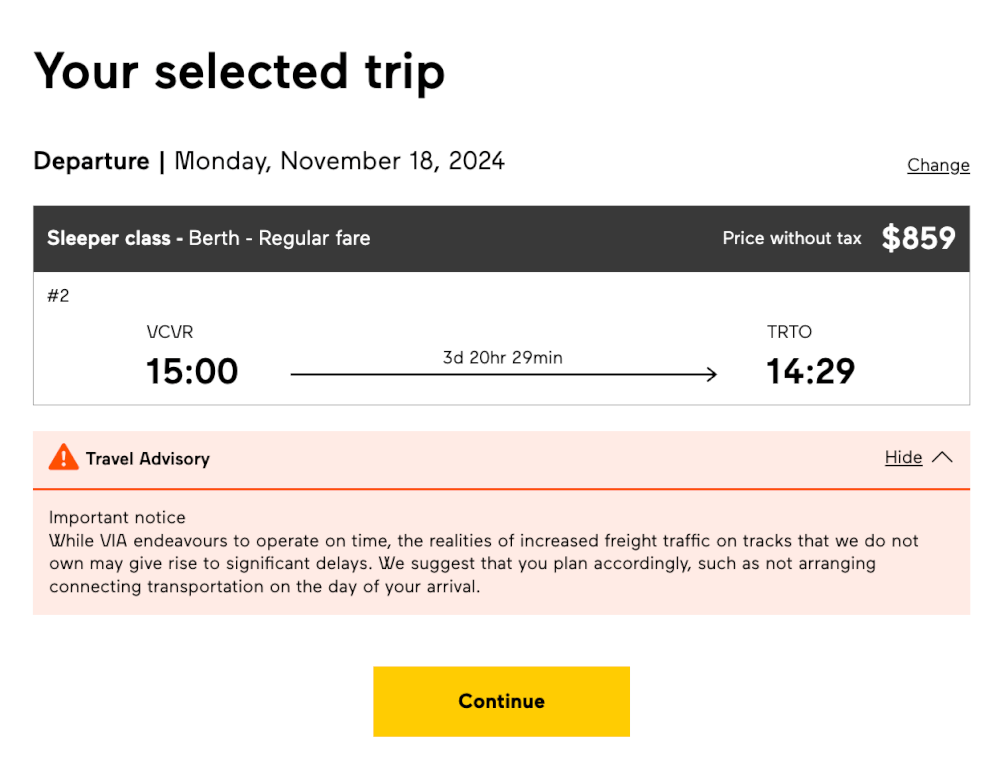
When you are happy with your choice, select the one you want and press Continue. Then follow the instructions to add your name, personal details and payment info to complete the ticket process. Bonus step: cry giddily while calling a friend.
NOTE: If you don’t want to DIY this train trip across Canada and prefer for someone else to plan it, there are companies that offer package holidays that bundle the train ride with hotels and bonus excursions. I’ve noticed these packages are (more often than not) REALLY expensive, but if you’re willing to pay for the convenience, then be sure to keep that in mind.
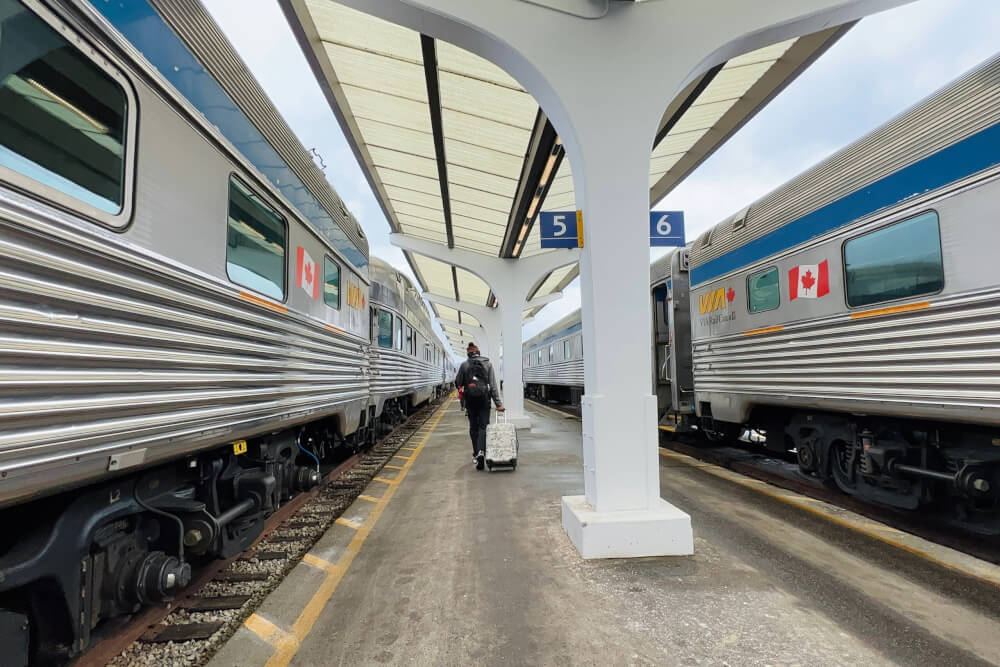
Step Two: Preparing & Packing
With your tickets booked, the next step is preparing what to pack and bring with you on board.
Of course, what you need to prepare will depend on the class you’ve booked, so the following advice is probably most pertinent to those travelling to economy class, but nonetheless, there are some things you should ensure you get in advance of your great Canadian train journey:
Entertainment, such as…
- An e-Reader like this one
- Noise cancelling headphones (these are mine)
- Books (if you’re more old school)
- Movies/TV shows downloaded for offline use
Snacks/food, such as…
- Instant noodles/instant meals like oatmeal, soup, etc.
- Drinks (water is available on board for free)
- Unique snacks (they make a great conversation starter)
Comfort items, such as…
- A pillow (here is a travel blanket/pillow that I love)
- Blanket
And don’t forget a portable charger like this one, especially if you are sleeping in a Berth as they don’t have outlets.
In terms of other preparations, this may be nerdy but I find it helpful to read blog posts/watch videos about the train so I know what to expect. A shocking number of people miss fun features of the train like the dome car or nice views for instance, so it’s good to be prepared!
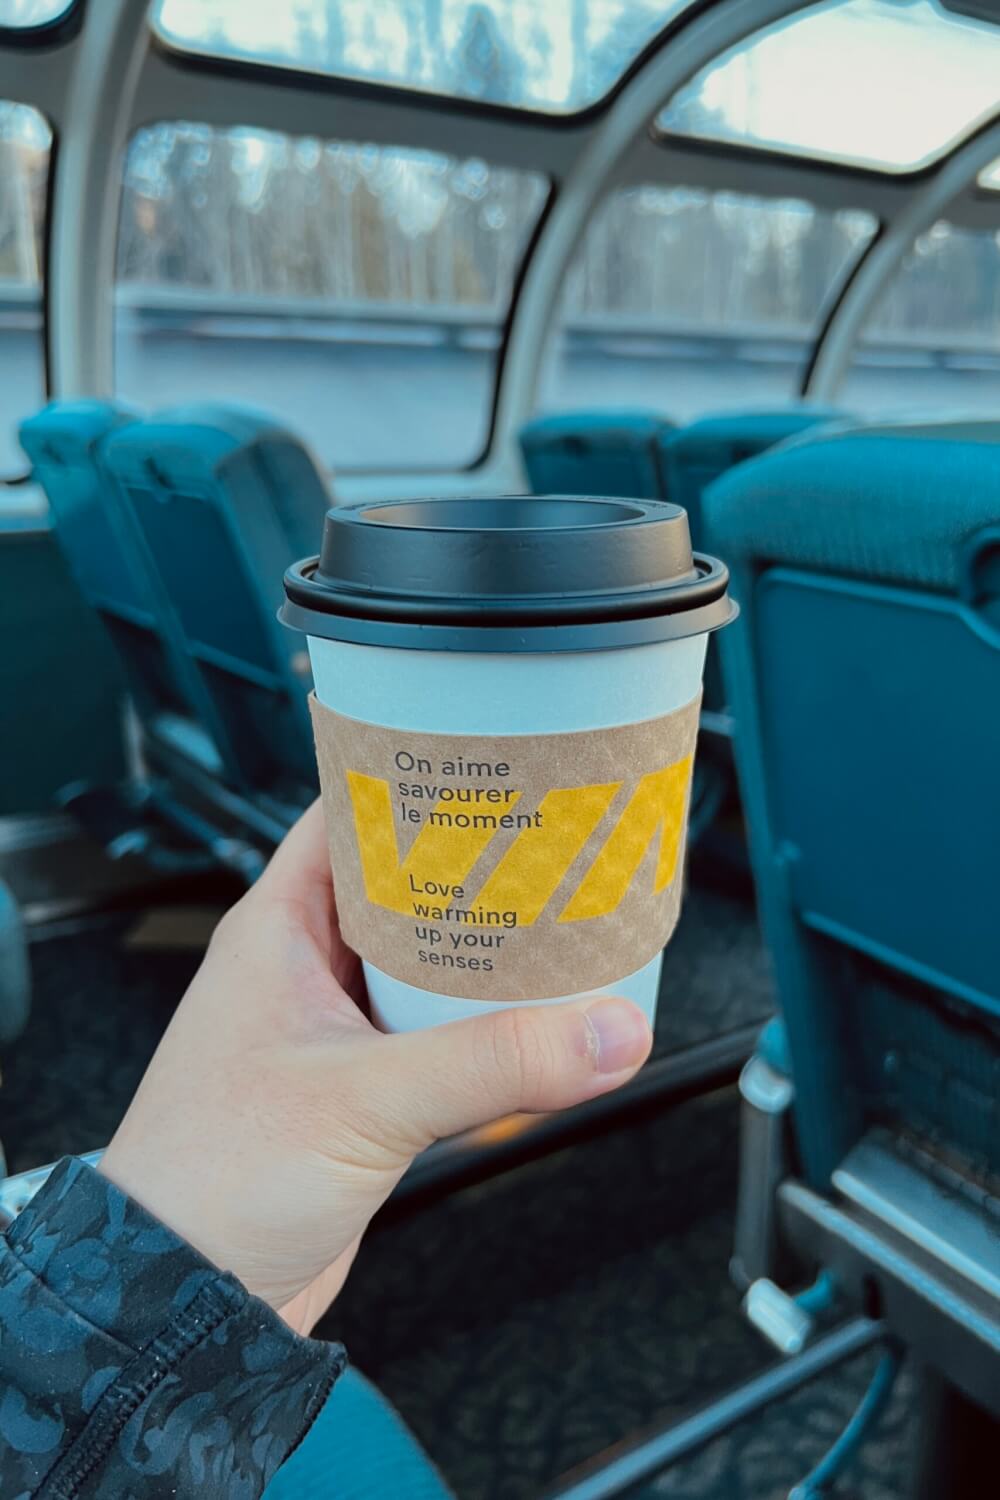
Now let’s move onto…
Step Three: Arriving at the Station
Alright, game time!! What should you do on the day of your journey?
First and most importantly, before you leave for the station, check for any delays on the VIA Rail website.
For longer journeys like the Canadian, a delay is almost guaranteed if you’re boarding partway through the journey, so save yourself the pain of having to wait 6 hours at the station like I did because of a delay.
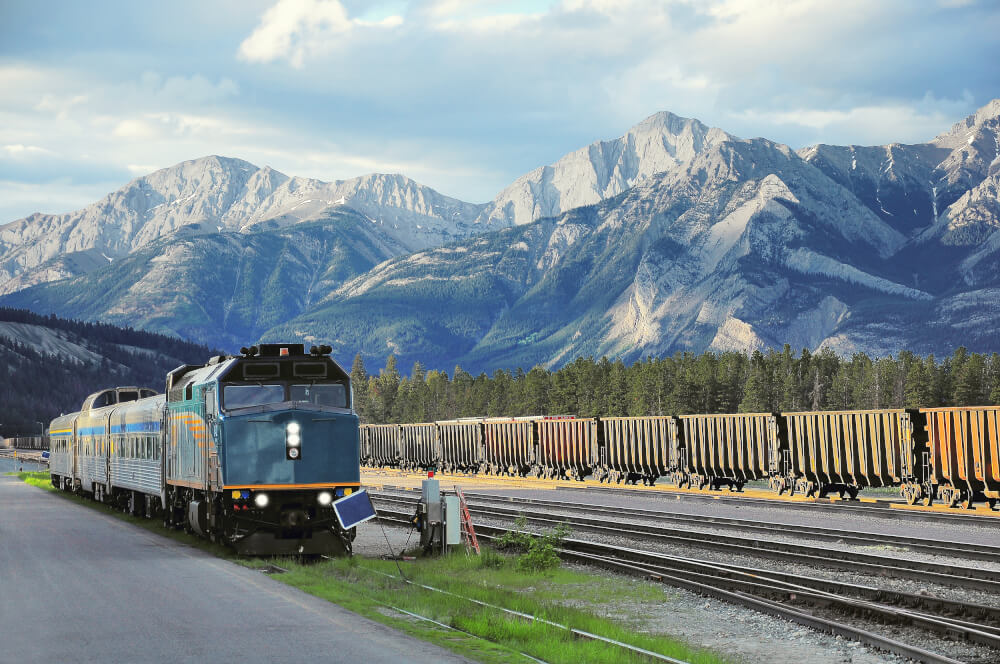
If you are boarding at a busy station like Toronto Union Station, I would recommend getting there at least 30 minutes early as these stations can be confusing to navigate, with a lot of platforms and different boarding areas depending on which train you’re catching.
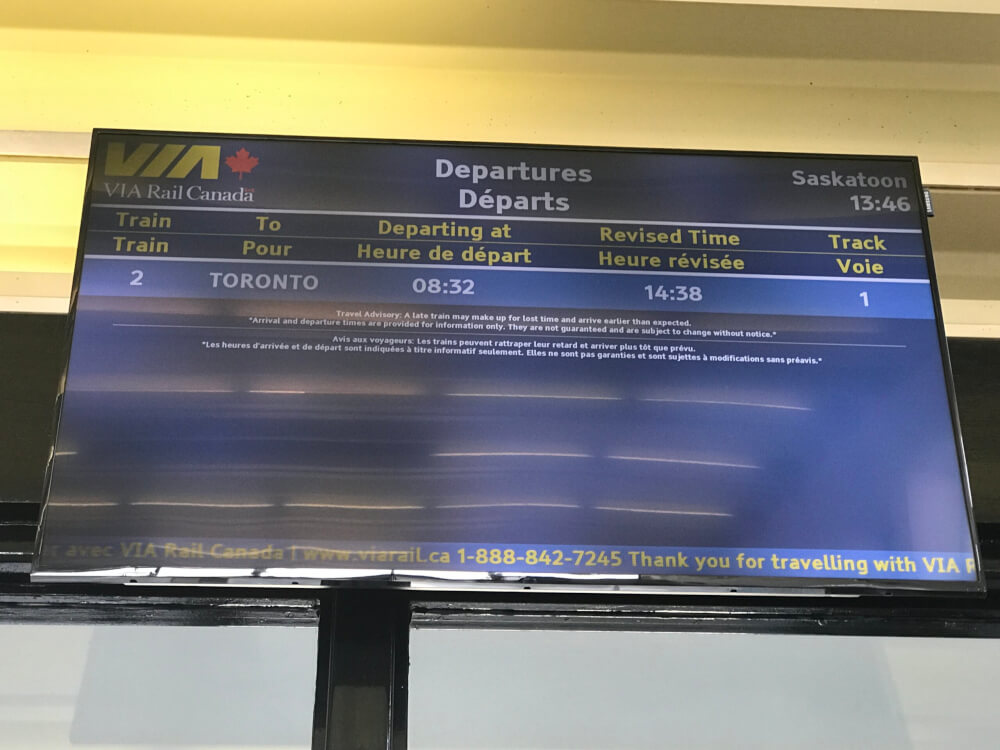
You can consult the Departure boards for information on which platform you should go to, or when in doubt, ask a staff member for help.
For smaller stations though like in Jasper, Saskatoon, etc. there is very little need to arrive early, and while there will be a board listing departures, often there will just be the one departure coming up, so no need to panic.
Step Four: Getting to the Platform
Platform numbers will generally be very well marked so just look up for signs before making your way.
Again, at smaller stations, you can usually wait for staff to tell you when to start boarding, and they’ll often walk you to the platform too. When I was boarding in Jasper for instance, the only people waiting there were there for my train, so we all just waited patiently until a staff member came out and told us where to go.
Step Five: Finding Your Carriage & Seat
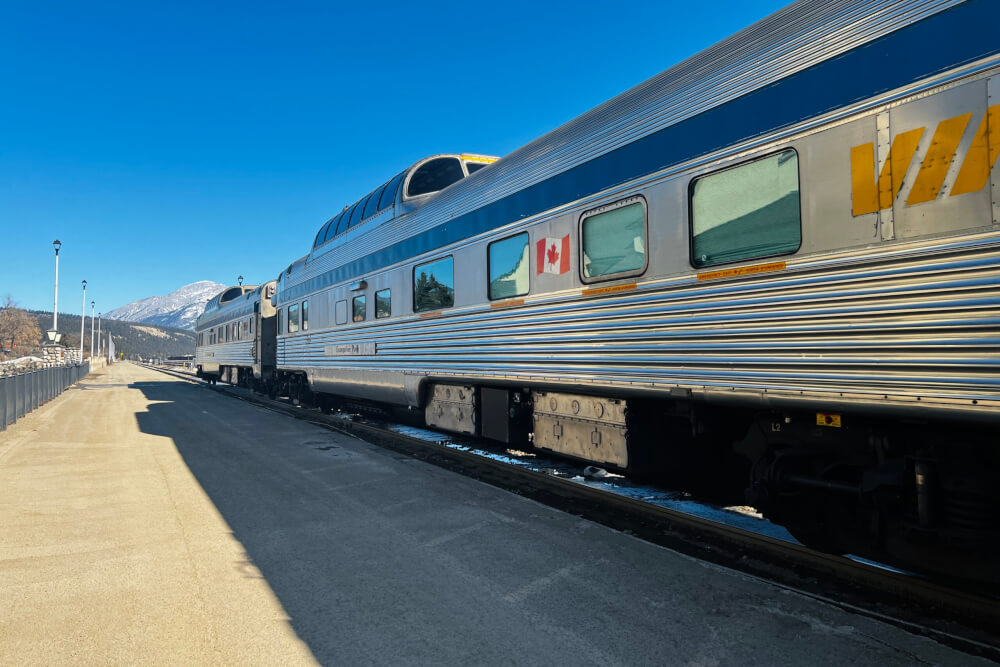
If you have booked a ticket with a reserved seat/cabin (e.g. Sleeper Plus or Prestige Class), then be sure to know your reserved seat/cabin in advance, and look out for signs that tell you where to go. When in doubt, you can always ask a staff member – they tend to be very helpful!
If you do not have an assigned seat (like in Economy), then you simply need to board an Economy car, then pick a free seat. I’ve noticed they usually check tickets after you’ve sat down (those this can vary depending on the route).
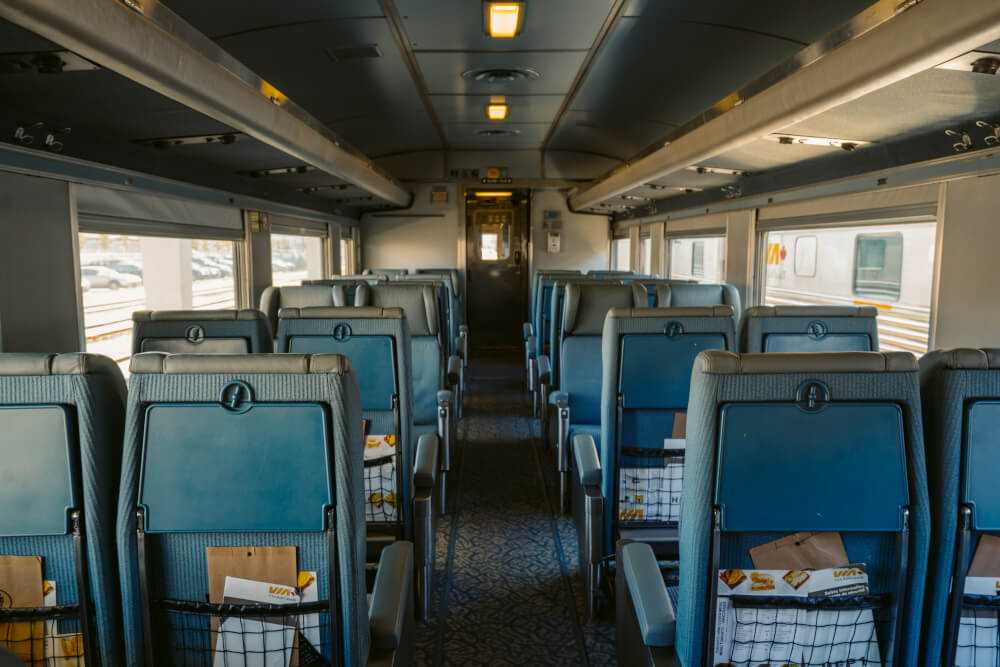
When picking a seat in Economy, do note that they usually keep the four seaters (facing each other) for larger parties travelling together, so avoid those. And keep an eye out for any that might be reserved (though this is rare).
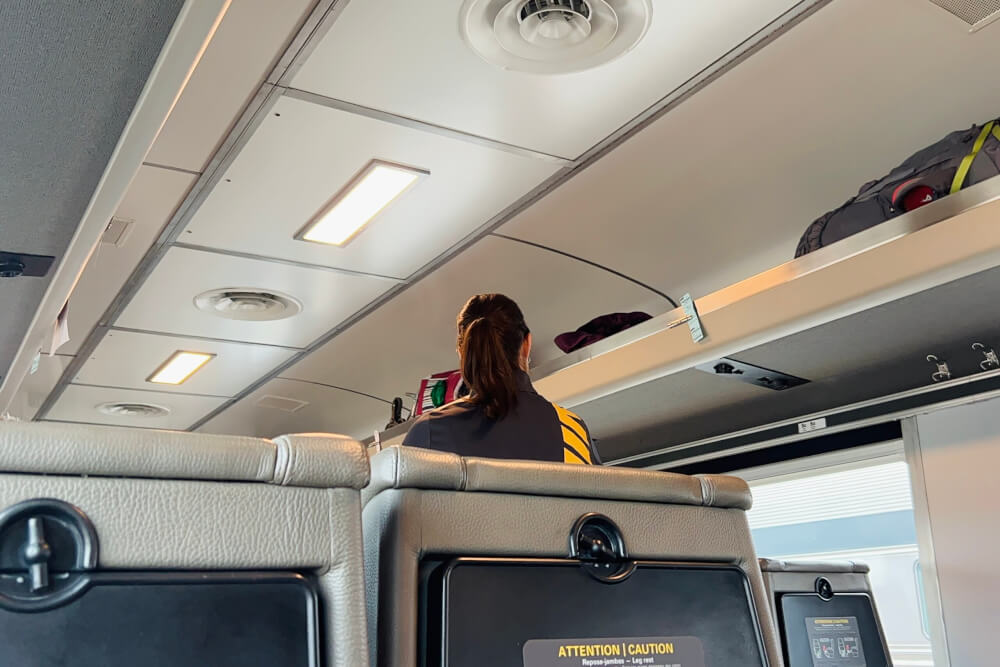
In terms of luggage, I always like to keep my suitcase as close to me as possible, so I put my bag up in the overhead luggage space (which is suitable for smaller bags like carry-ons or backpacks).
If you are travelling with larger bags however, there are usually large luggage racks at the end of Economy cars.
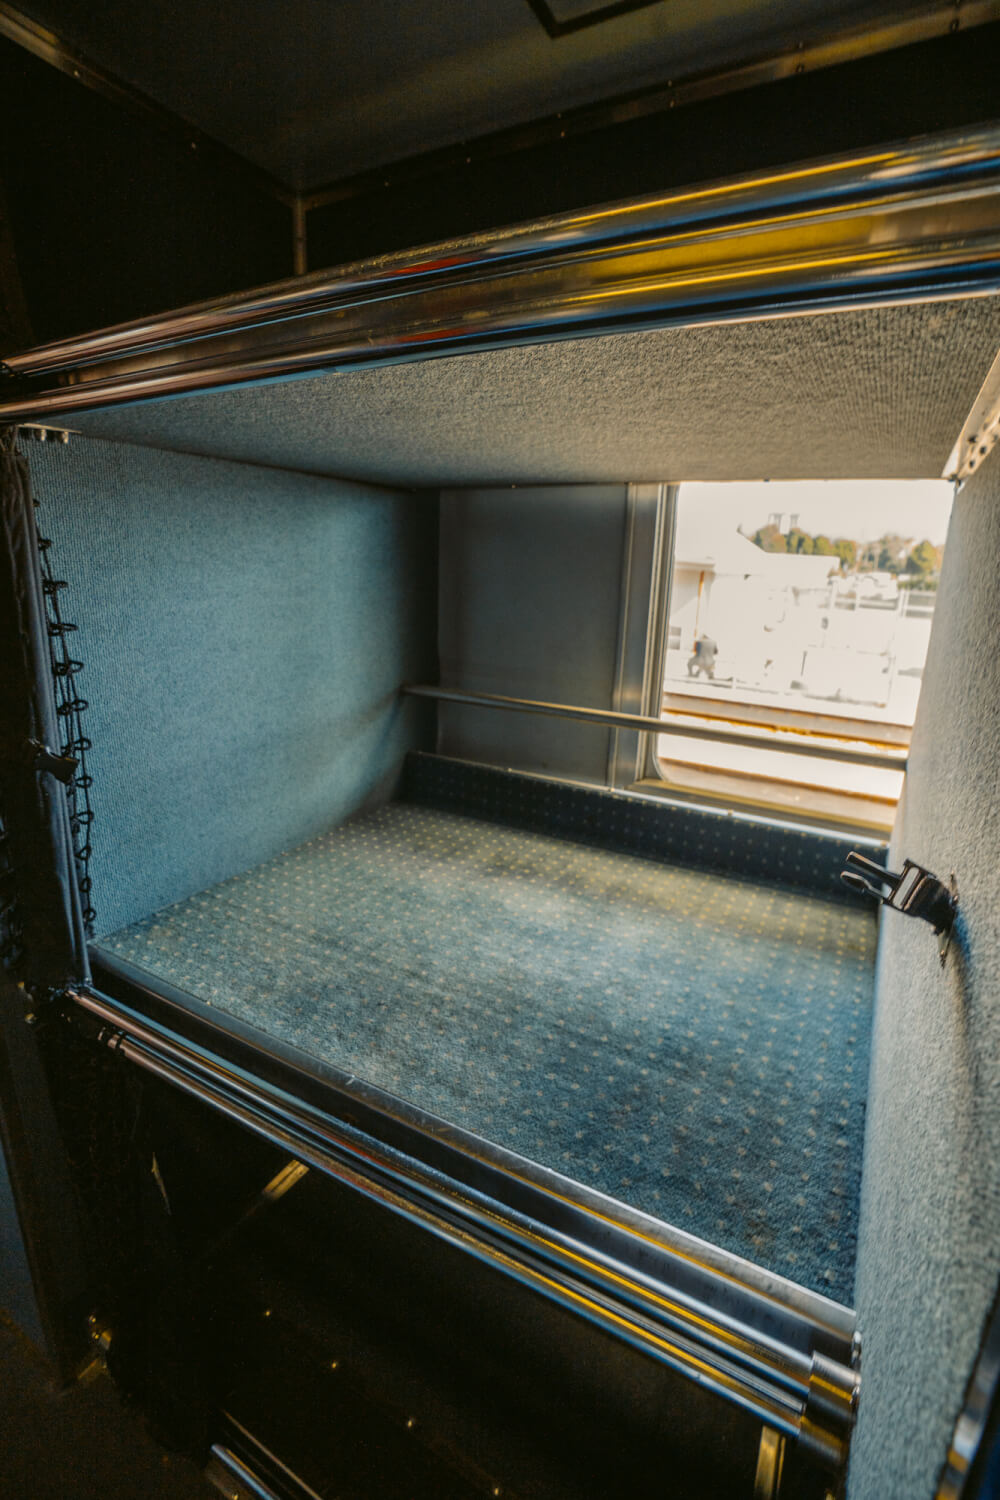
Step Six: Enjoying the Journey
Once you’re all settled, it’s time to sit back, relax and enjoy!
Here are some features to take note of on Canadian trains:
Coat hooks: These can be found on the wall next to your seat – sometimes they may need to be pulled out. You can leave coats, scarves, etc. on those
Plugs: There are power outlets in almost every seating area except for the Berths.
WiFi: Sadly, WiFi is only available on the Ontario-Québec routes, but there is meant to be WiFi at most stations.
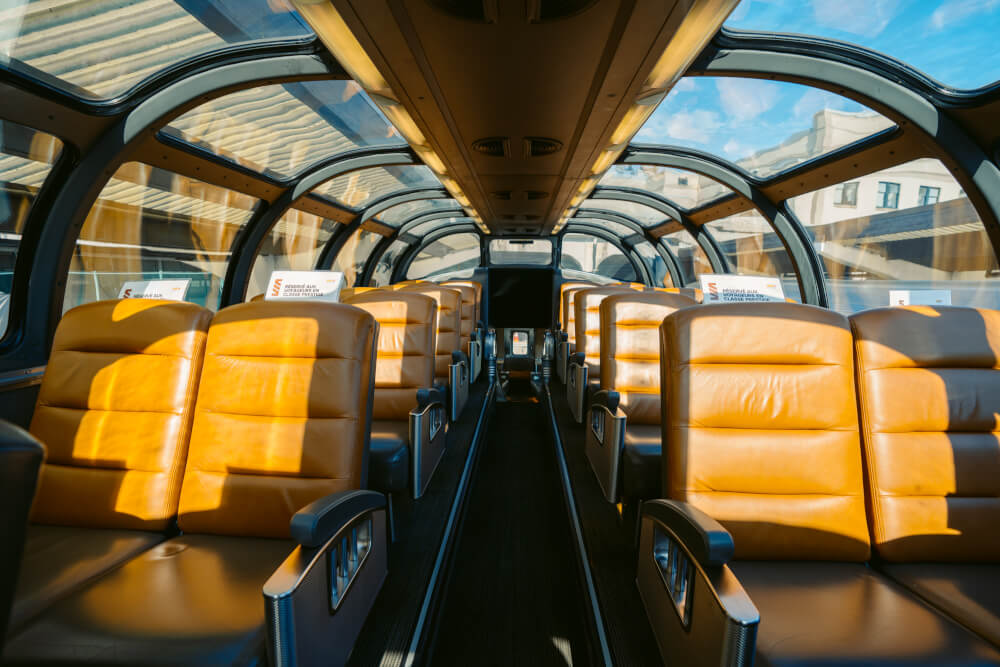
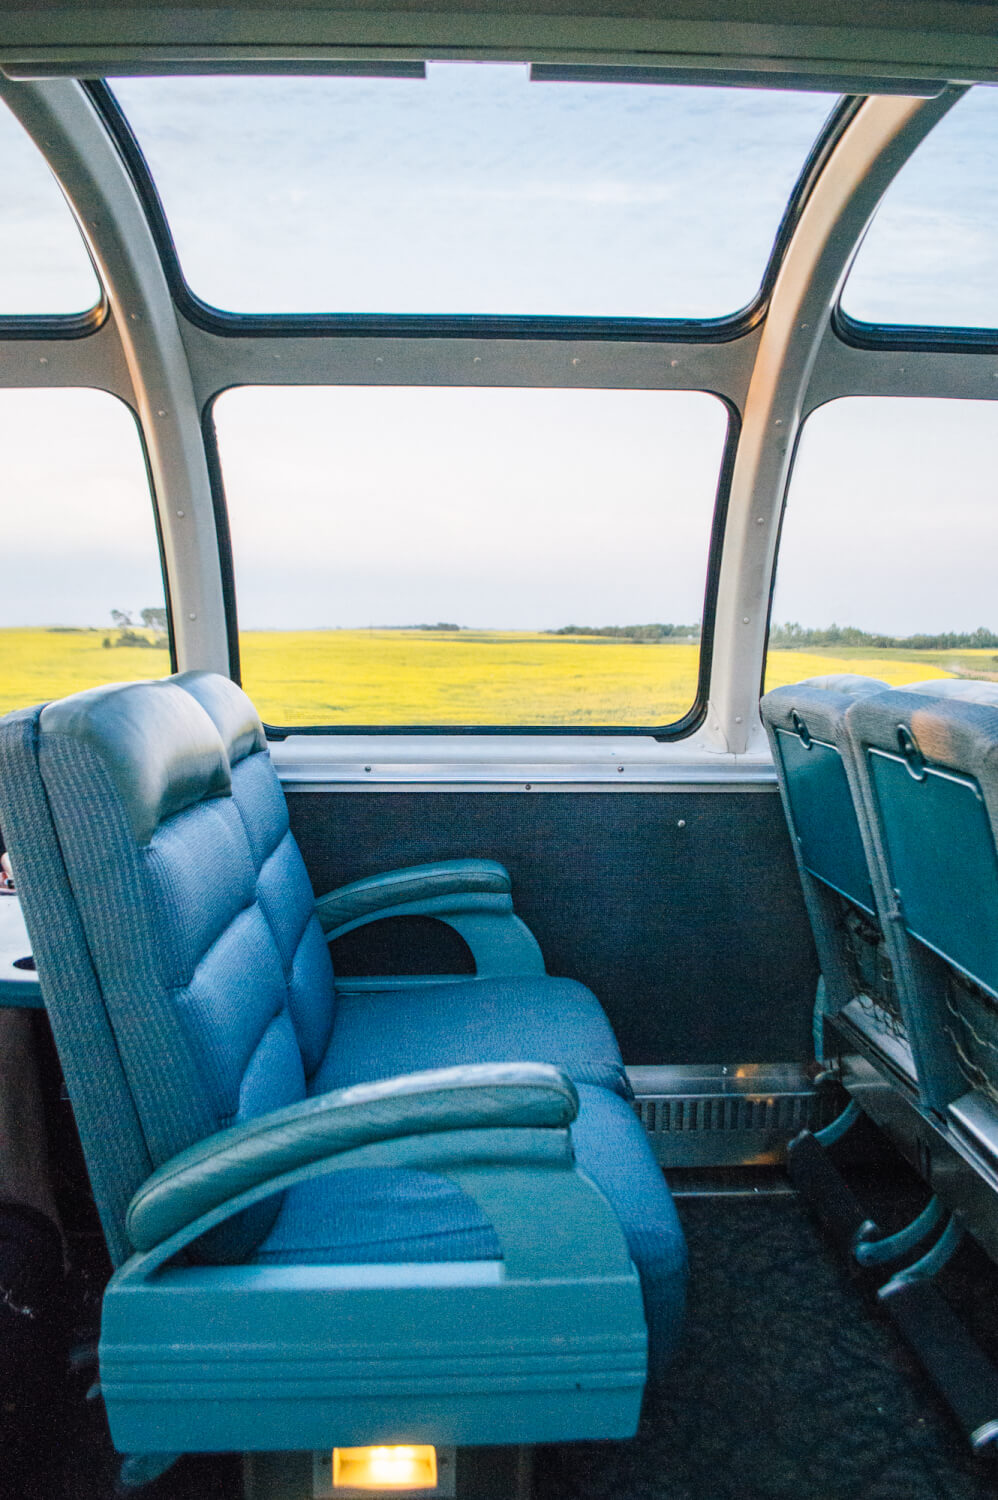
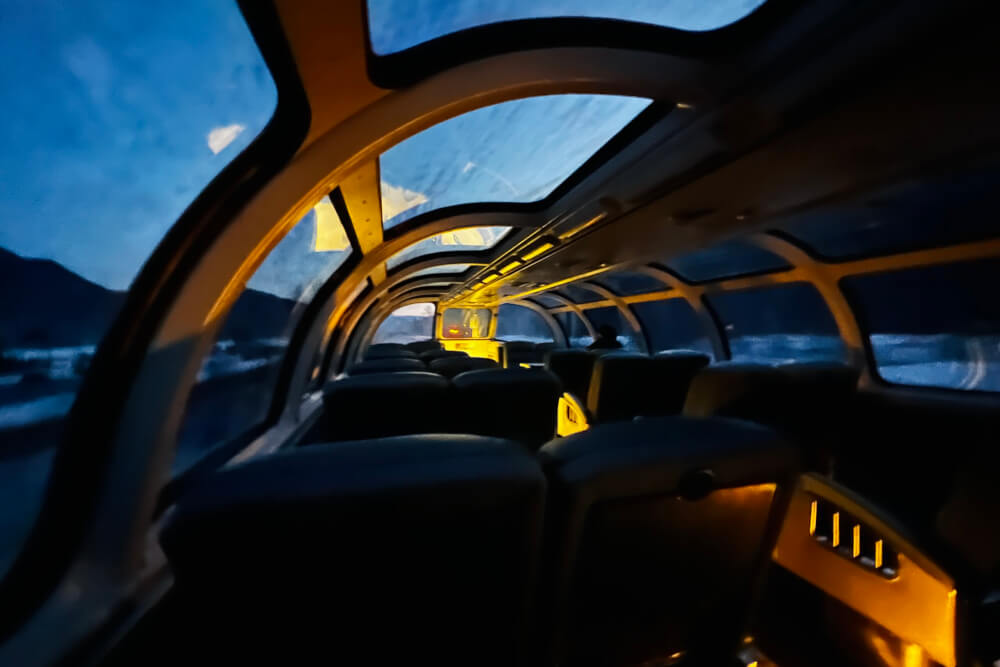
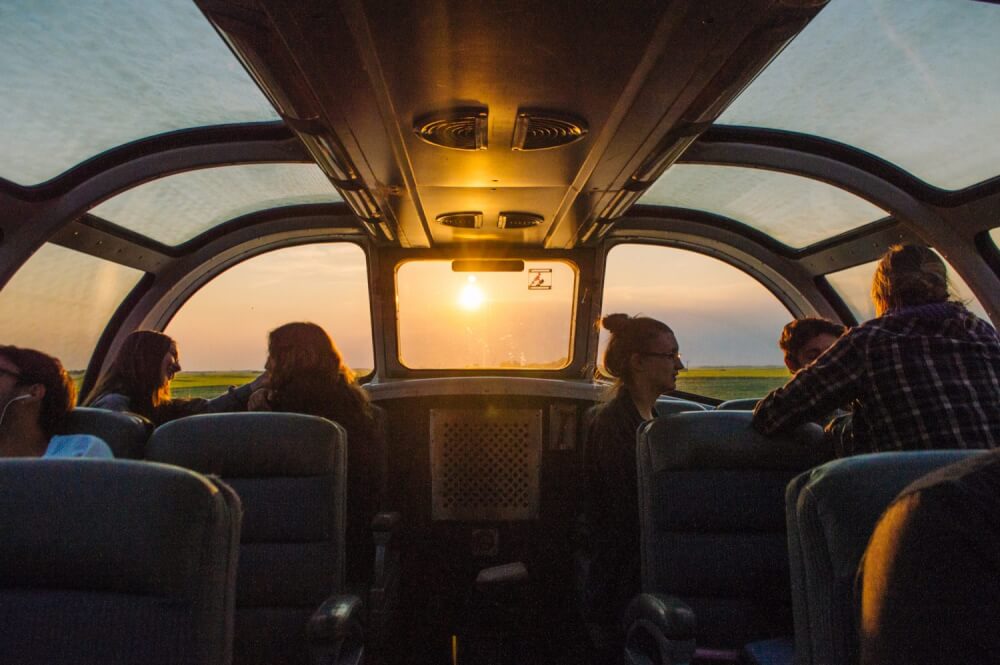
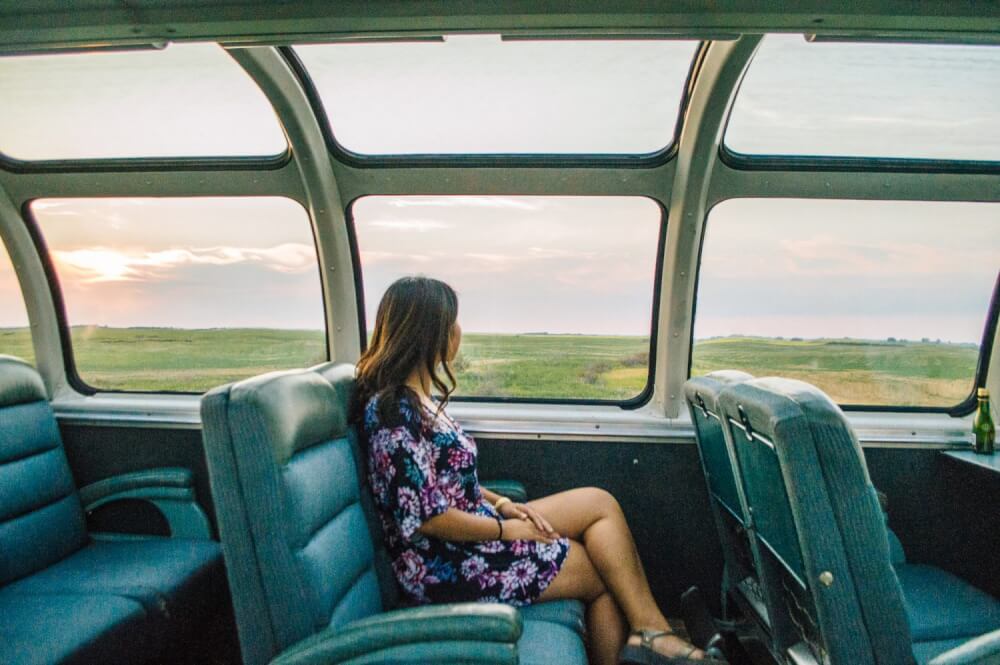
Skyline Car: This awesome car combines a café-style dining area with a lounge, plus a scenic dome seating area up top. There is usually one for Economy passengers and one for Sleeper Plus and Prestige Class passengers. Seating here is generally first come first serve (with some reserved for Prestige Class passengers), so I’d go check this out right away to claim a spot (it’s usually empty but better safe than sorry!)
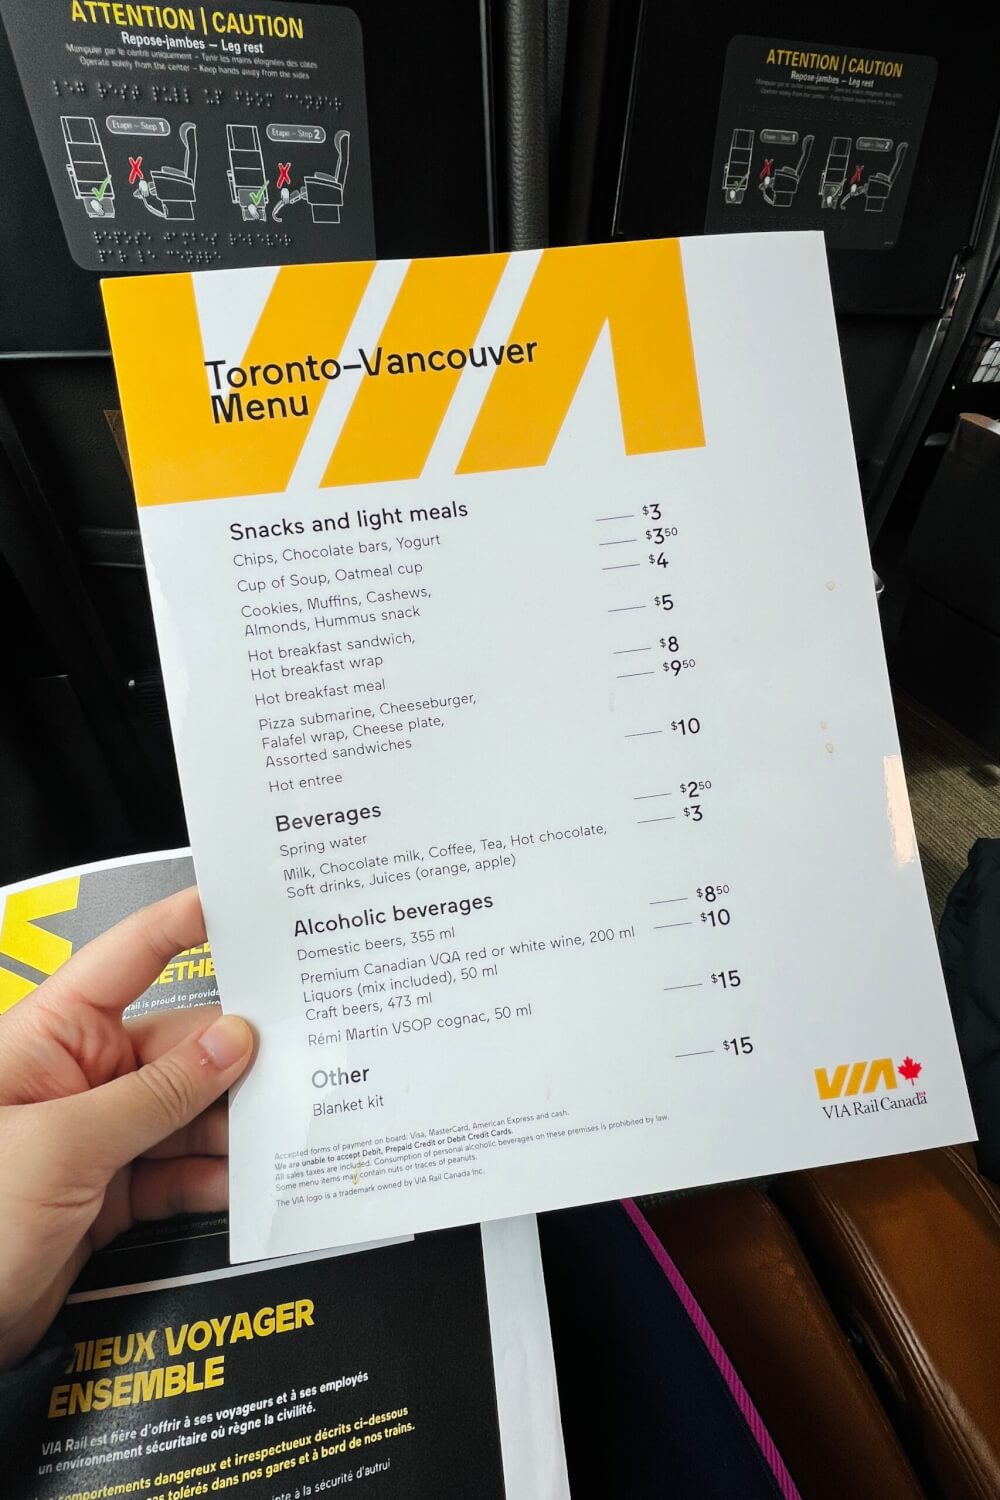
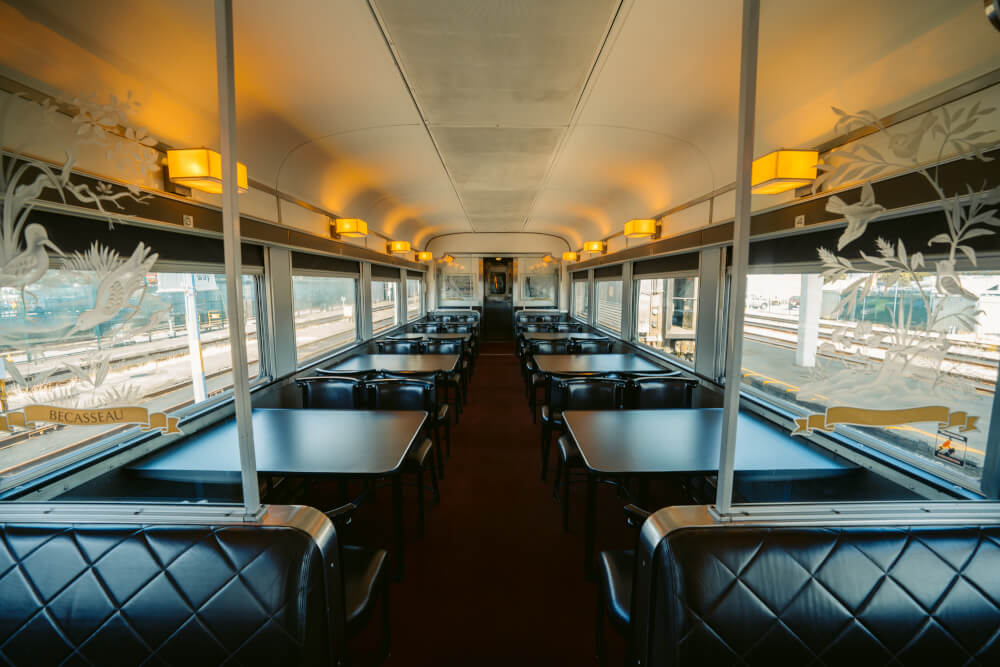
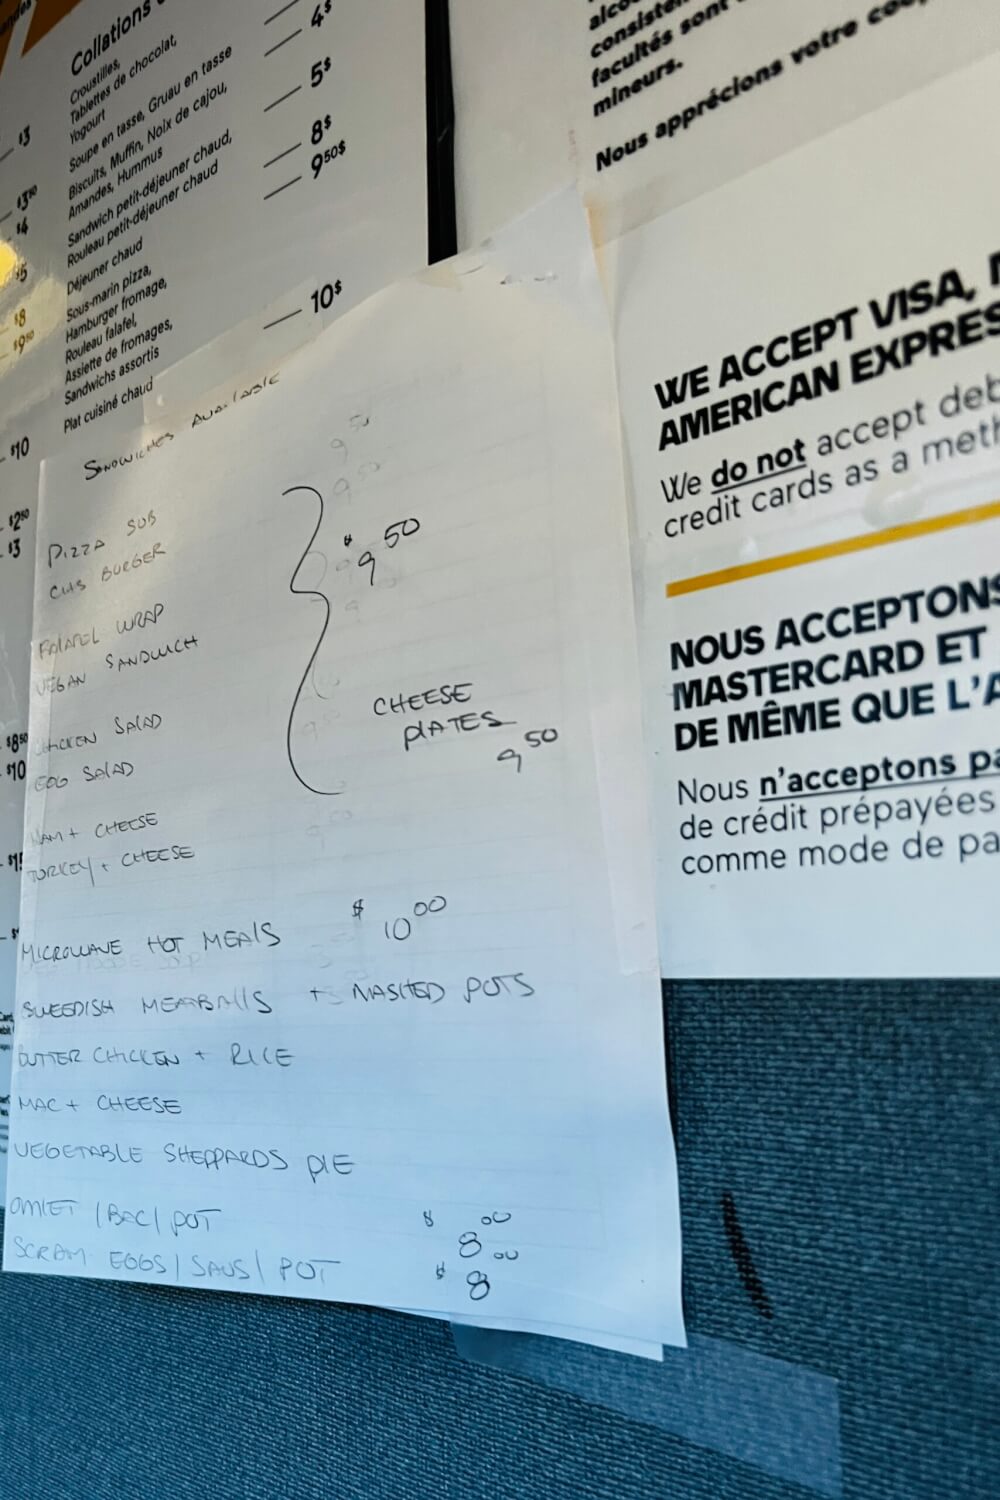
Dining Car: For longer journeys there will pretty much always be an opportunity to acquire food/drinks… although quality varies! Sleeper Plus and Prestige Class passengers have access to a dining car and have meals included in their fare, while Economy passengers can choose from a menu of (mostly microwaved/instant) foods at additional cost.
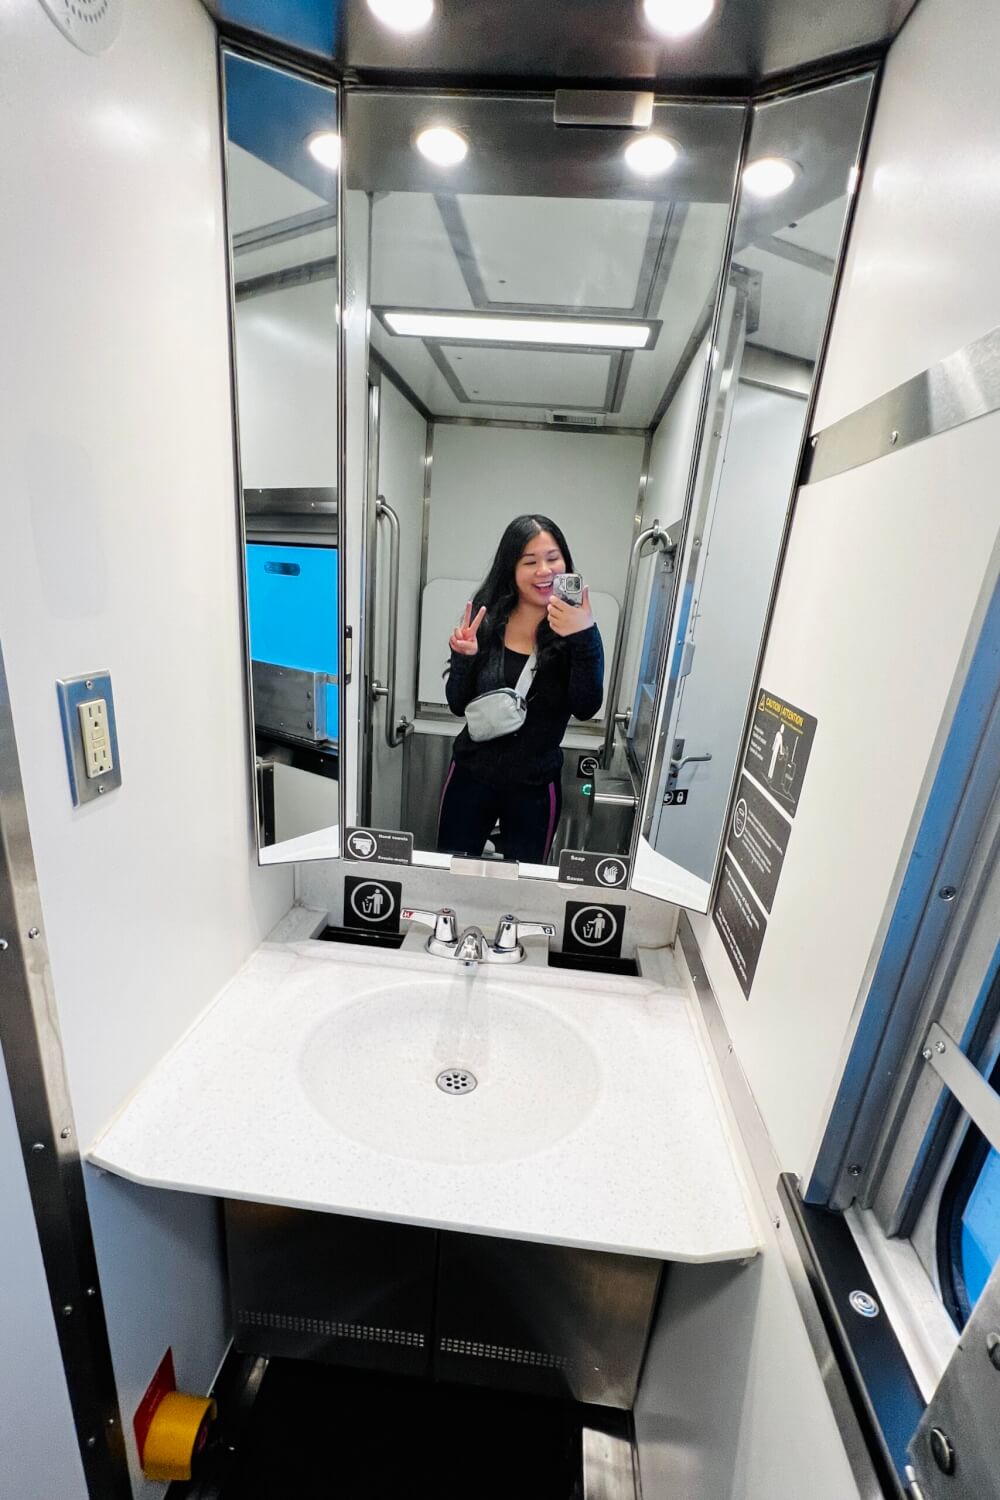
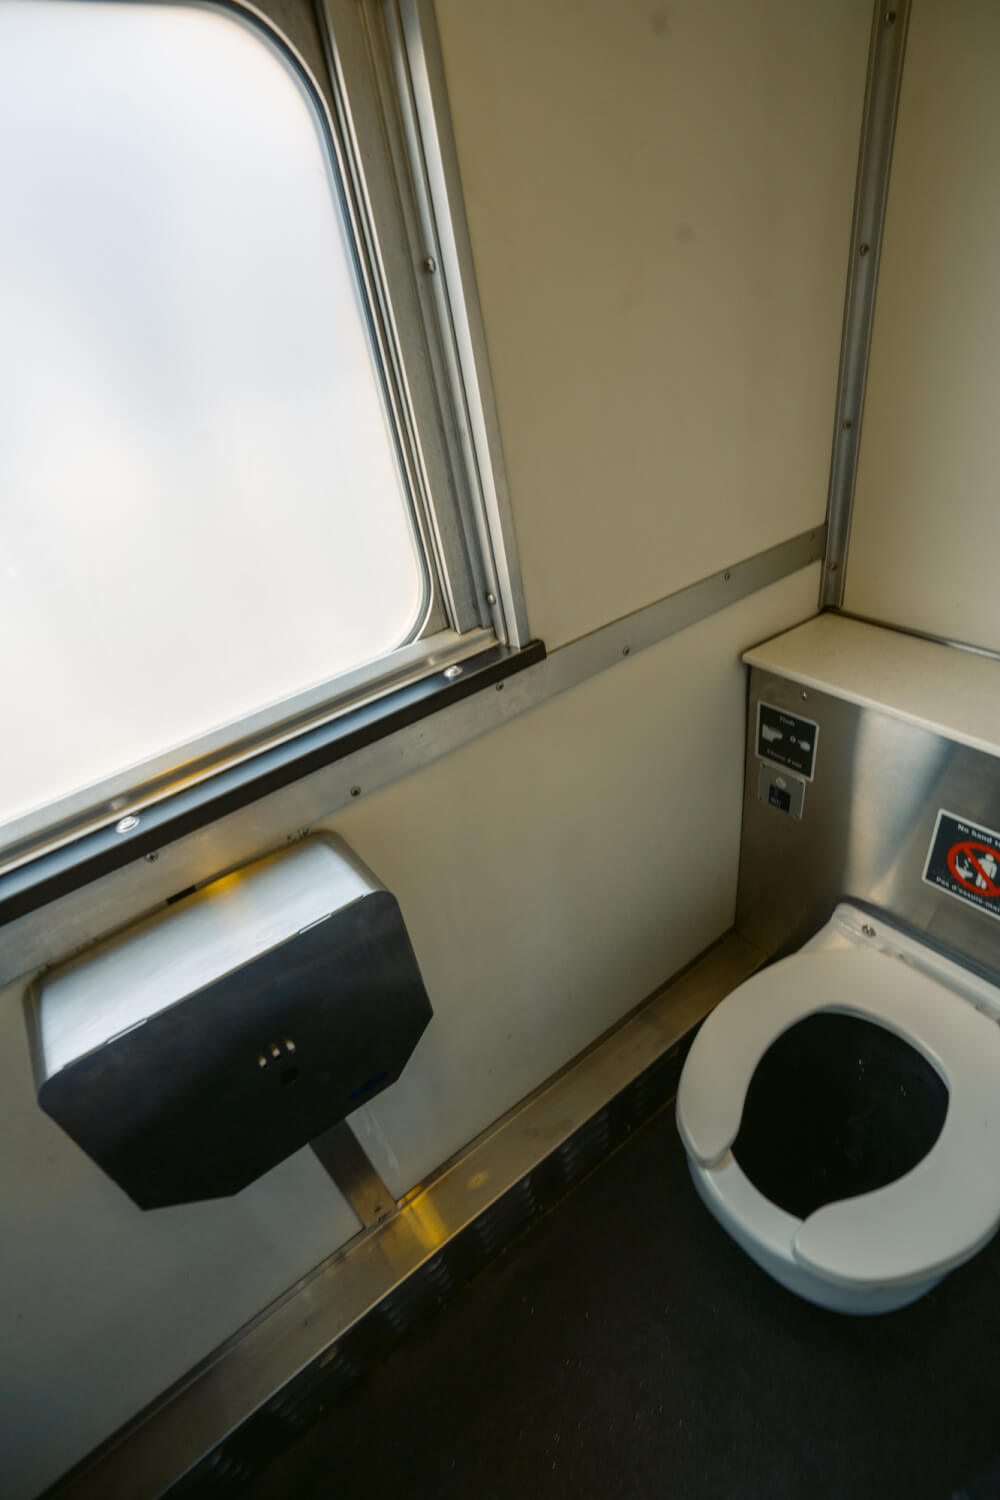
Bathrooms: And of course, don’t forget to look for the on-board bathrooms. These are usually found at the ends of cars.
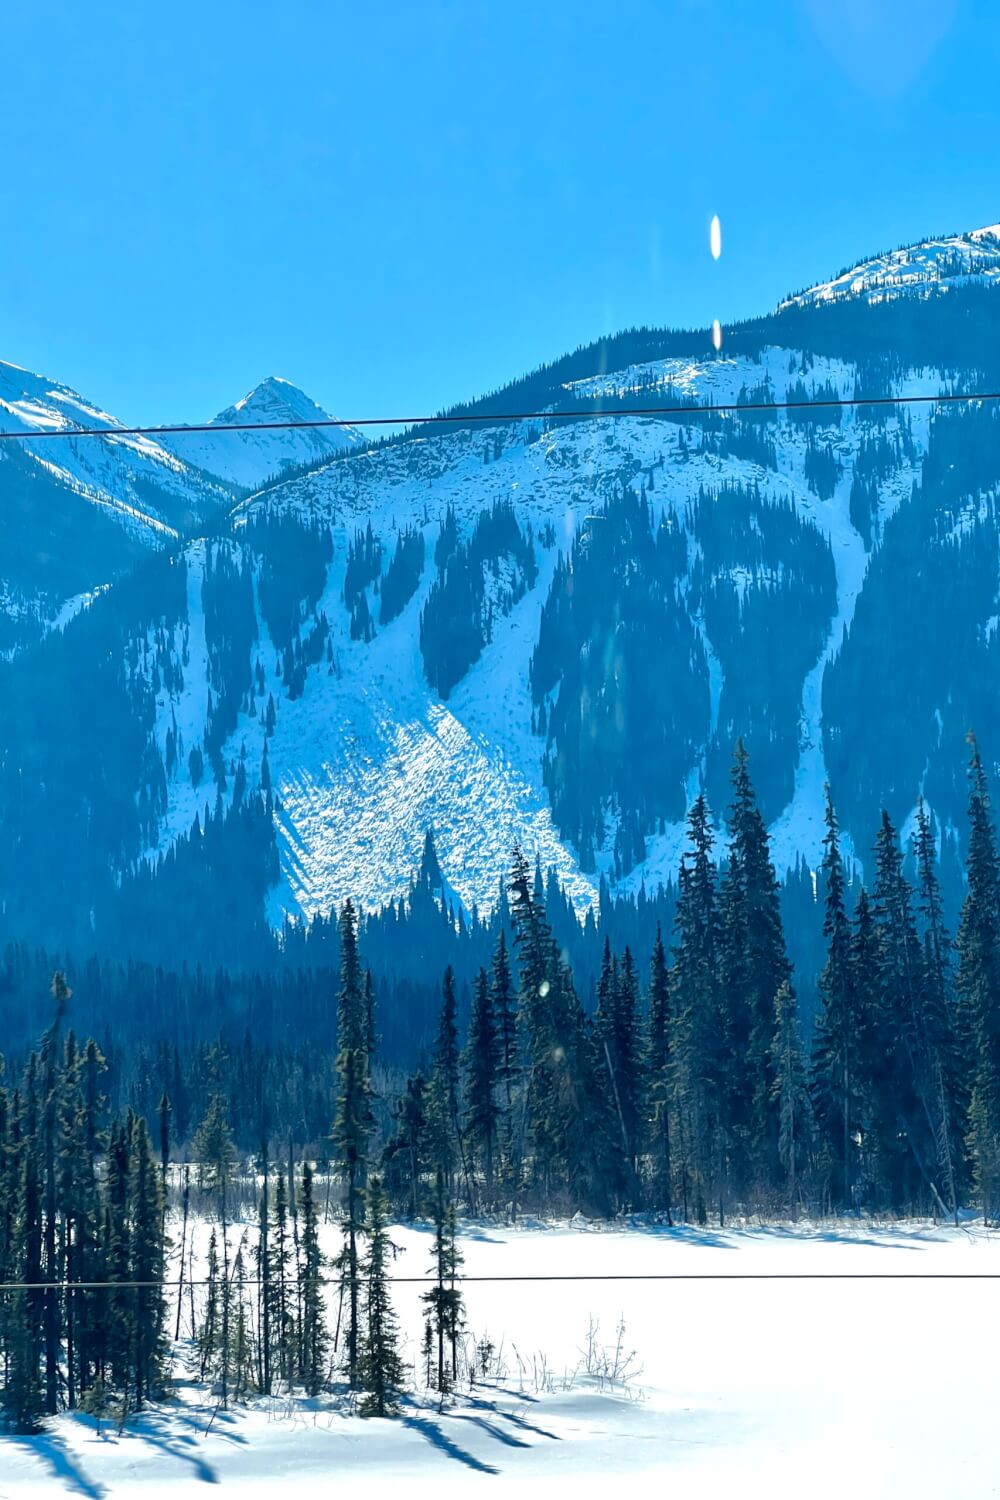
Once the train is moving, all that’s left to do really is enjoy the views. Keep an ear out for announcements as they often announce views coming up or animal sightings, and always have those cameras ready – while they will often slow down at main sights, there are frequently gorgeous views that pass by in a flash.
Step Seven: Disembarking
If you are not getting off at the end destination of the train, then I would start prepping for disembarkation about 10 min before your arrival time. This gives you plenty of time to gather your belongings, crumbs, and bags in a rational manner.
Usually you’ll have a good idea of when you’re arriving thanks to on-board announcements and just a general sense of the scenery changing, but when in doubt, ask a staff member how much longer there is to go.
There’s really no rush in disembarking because trains will wait a while at stations, but just make sure you have all your belongings and don’t rush out while leaving anything behind… because well, that train is going far.
Once you exit the train station, remember that your train ticket is only valid for that specific train you boarded, so you won’t be able to use it for onward travel on the metro or bus.
Final Tips for Taking the Train in Canada
Alright, we’ve gone through ALL the basics so now I’m going to simply leave you with some extra bonus tips on how to make the most of the Canadian rail system!
Go in expecting there to be delays
Again, it’s safe to assume you will encounter delays, so plan accordingly by booking flexible hotels, and also not booking any onward travel too close to your expected arrival time.
Bring some cash
While credit and debit cards were accepted on board on my most recent trip (2023), the system was still pretty old school in that they literally wrote down my name and credit card details on a sheet of paper to bill later. No contactless machines here – nope!
Obviously this was fine in the end, but if you’d prefer to not have your credit card details stored on some random piece of paper on board a train hurtling across Canada, bring some cash to pay with instead.
NOTE: They did not accept prepaid debit or credit cards during my last trip.
Don’t be scared to chat with other passengers and staff!
Part of what makes the train trip across Canada so special is you get a chance to meet LOTS of unique people.
I mean, anyone who chooses to journey across Canada by train usually has some kind of interesting story to tell! So don’t be shy and make some friends 🙂
The staff on board are usually SO friendly too – many of them have been doing this for years so will have fun stories about train travel and also cool guidebooks they reference. I learned so much by chatting with staff on board, so make sure you seize the opportunity to get info out of them – they can be goldmines for knowledge.
Bonus: My Experience Travelling Across Canada by Train
Below is the original diary-style blog post I wrote after my train trip across Canada in 2017. It’s a little cringey, but captures my enthusiasm at the time. If you’re curious about how my journey went from start to finish, here you go! Dramatic intro included.
Growing up, it was always my dream to chug across Canada by train.
After all, there was something wonderfully romantic about the idea. I always imagined I would be gliding through scenic landscapes, dressed in my best, writing my memoirs in a leather-bound journal while someone handsome fed me grapes.
What a dream.
And while there was no handsome grape feeder on board VIA Rail’s Canadian Train in the summer of 2017, my childhood fantasy did come true in part. From Vancouver to Halifax, I finally got to travel across Canada by train, fulfilling a dream that many (including me) held onto since childhood.
To what did I owe this incredible opportunity? Well, in honour of Canada’s 150th birthday, VIA Rail held a promotion for young people in 2017 where they released a limited number of 1 month unlimited train passes, for the rock bottom price of $150. It was like the modern-day Canadian version of Willy Wonka’s Golden Ticket. (Or you now, the Hunger Games of rail travel).
Against all odds, I clawed my way through the struggle of server crashes and long wait times. After waking up (in Germany) to literally hundreds of panicked messages from friends trying to log in and buy a ticket, I calmly logged online after most of Canada had gone to sleep, and managed to snag one immediately.
… and I didn’t even need to fight anybody! 🙂
Suffice to say, my friends were pissed.
BUT HEY, that’s $150 Canadian. As in, people own jeans that cost much more. Can’t beat a deal like that.
I’ve held onto my photos and stories for months, struggling to capture the entire experience adequately… so I kind of gave up and figured I’d let my photos speak on my behalf. So, if you’ve been hoping to travel across Canada by train, here are some photos that will hopefully inspire you to do it.
… You may not get a deal as wicked as mine, but I assure you the ride is worth every penny.
Starting Point: Vancouver, BC
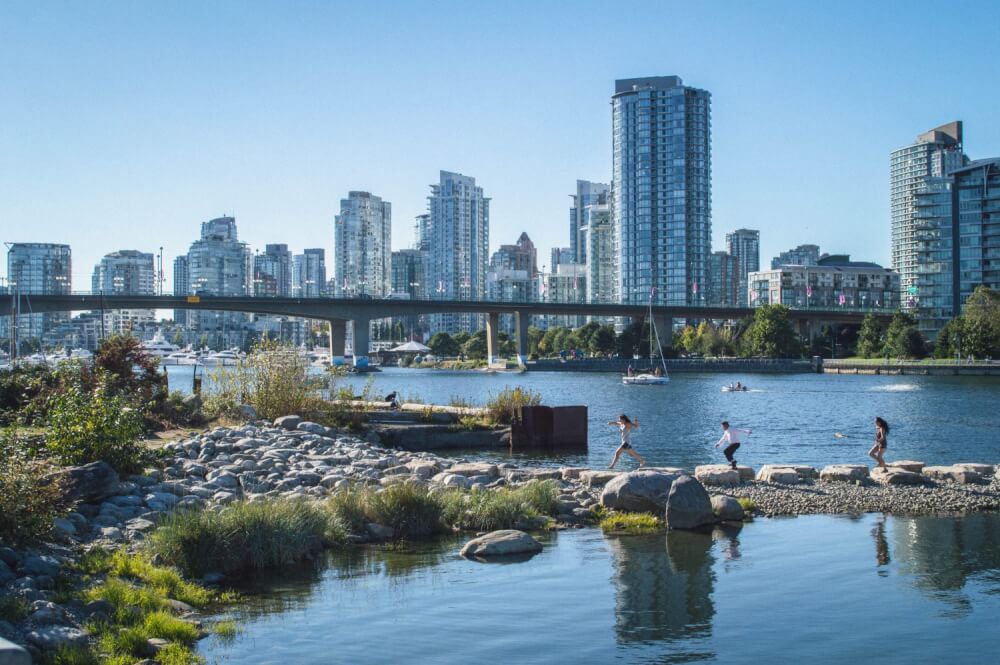
AKA my hometown, and a city regularly voted most livable in the world, no big deal. Using Vancouver as my launching pad gave me the unique experience of literally seeing my country from coast to coast. Prior to my departure, I stuffed myself with sushi, filled my bag with snacks, and soon I was off. First stop: Jasper, Alberta (via Kamloops).
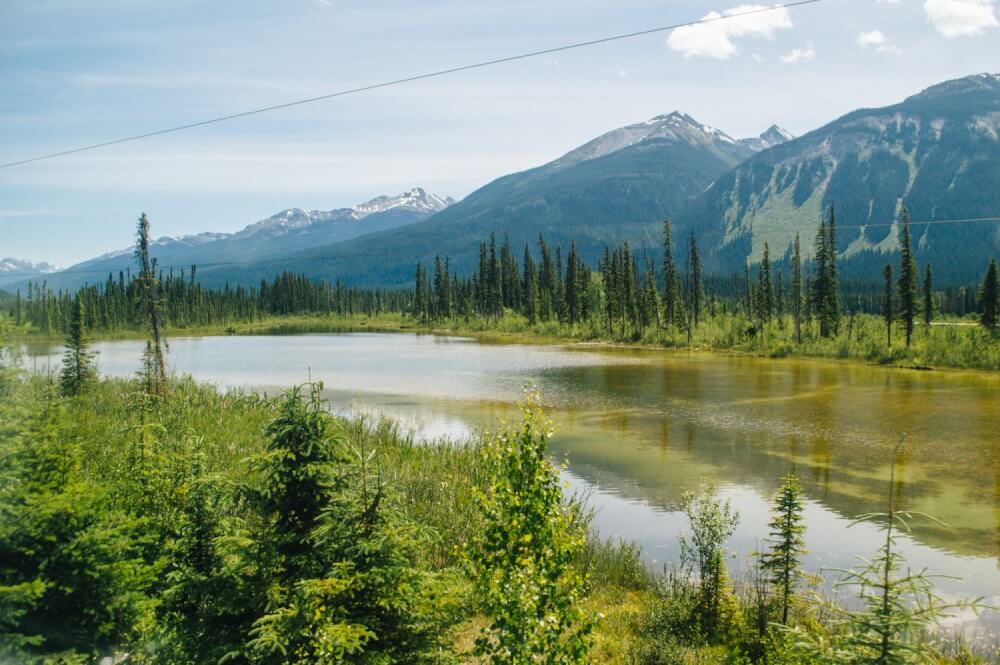
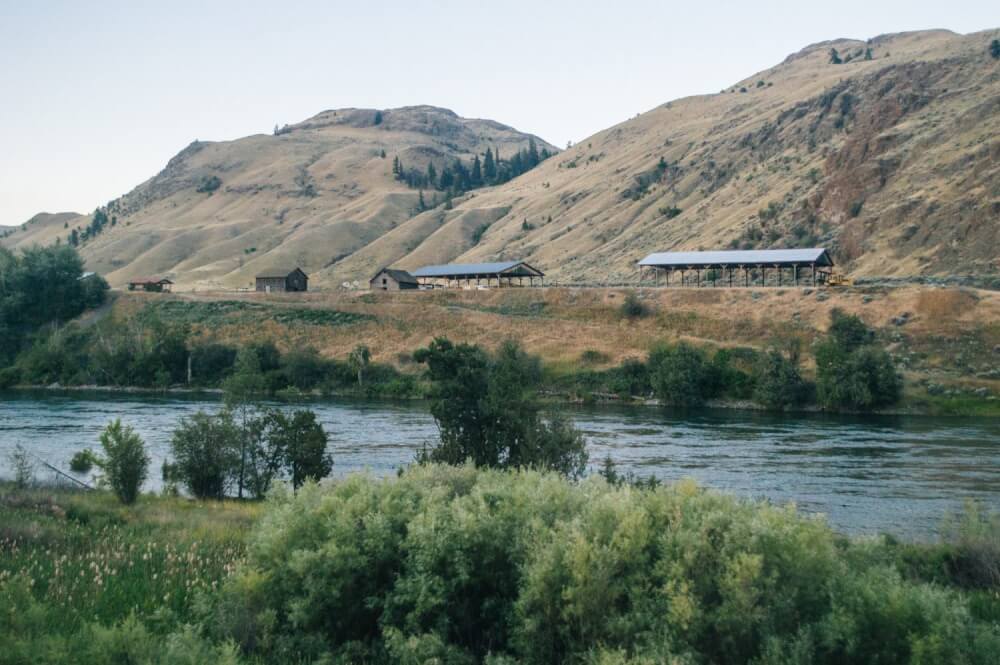
Stop One: Jasper
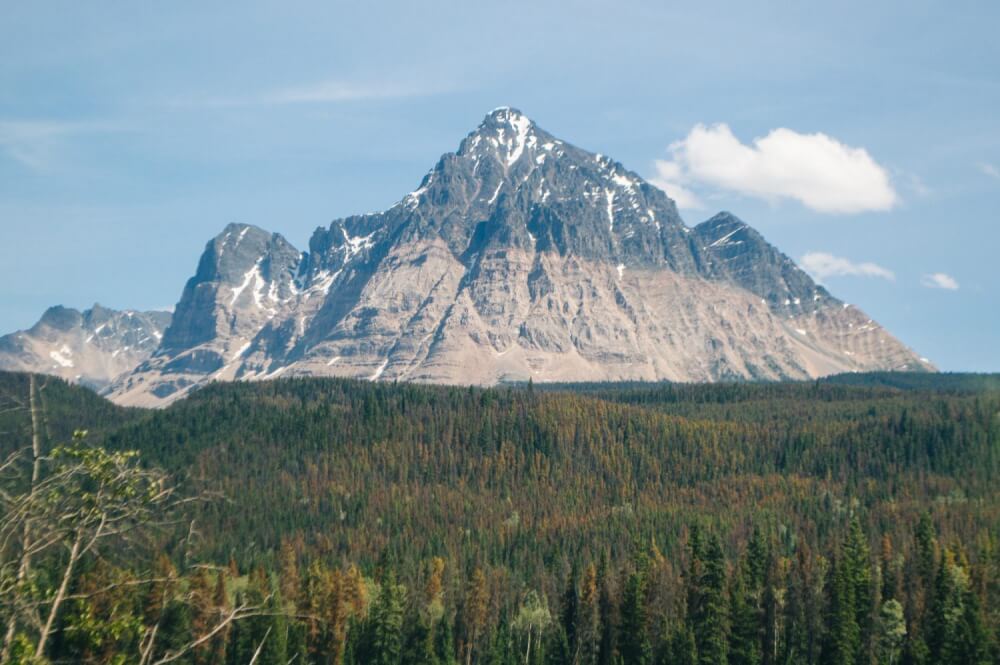
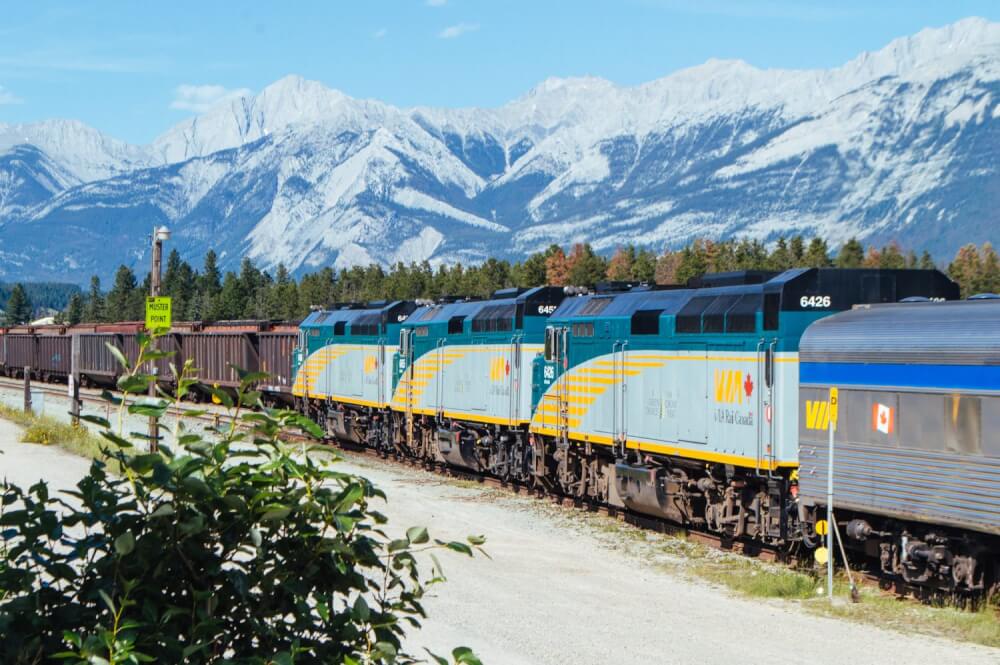
Having just visited Banff and Jasper National Park a few weeks prior, my stop in Jasper was brief – just long enough to get a decent caffeine fix. It was here that I had the dumbest epiphany of all time.
Staring at this view, I mused “hm, the mountains here have no trees… they’re just rocky.”
My new train-friends turned to me with an “are you serious?” look burning in their eyes. Of course. That’s why they’re called the Rockies. Duh.
Read more: 21 Incredible Banff National Park Pictures that Will Ignite Your Wanderlust
Stop Two: Saskatoon
From Jasper, I found myself as one of the very few train passengers who got off at the Saskatoon stop. I didn’t ever think I would end up here, in the center of the Canadian prairies… and yet I did, and I loved it. I loved the vibrant street art, I loved the fun bars, and I especially loved that I caught a steam punk Shakespeare performance.
Thanks for being delightfully weird, Saskatoon.


Stop 3: Winnipeg
And while Saskatoon was a surprise, the city I really never expected to fall for was Winnipeg…
But with a two day stop before boarding my next train, I had just enough time to discover how wrong I had always been about the Peg. From cool neighbourhoods and fascinating museums to delicious food and unique attractions all over, Winnipeg blew me away, and filled me with instant guilt that it was so often the punchline in Canadian jokes.
Read more – Winnipeg: Canada’s Most Surprising Capital (and the Perfect City Break)

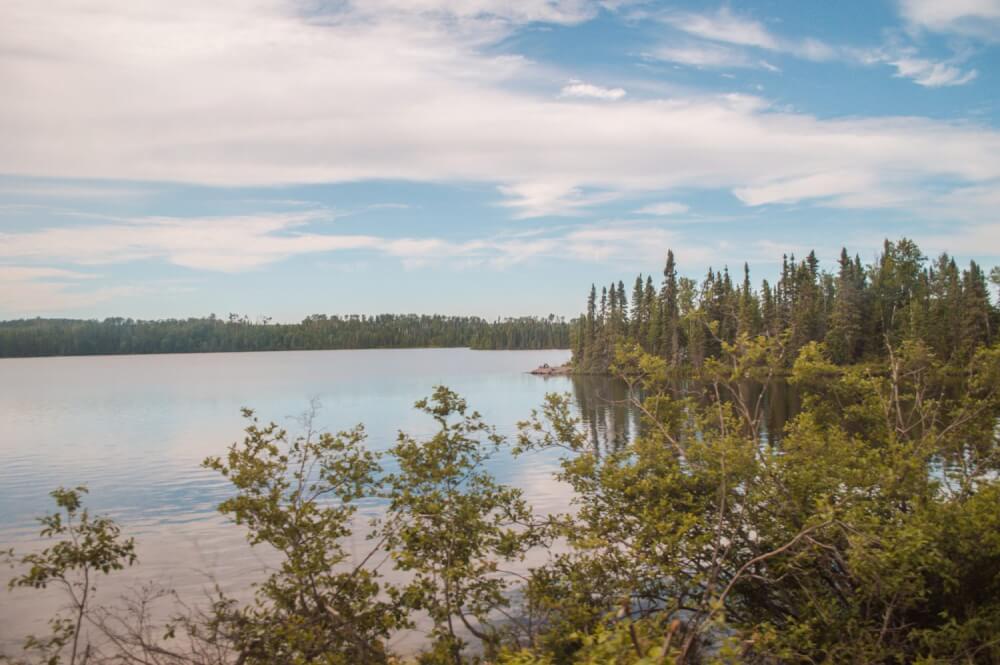
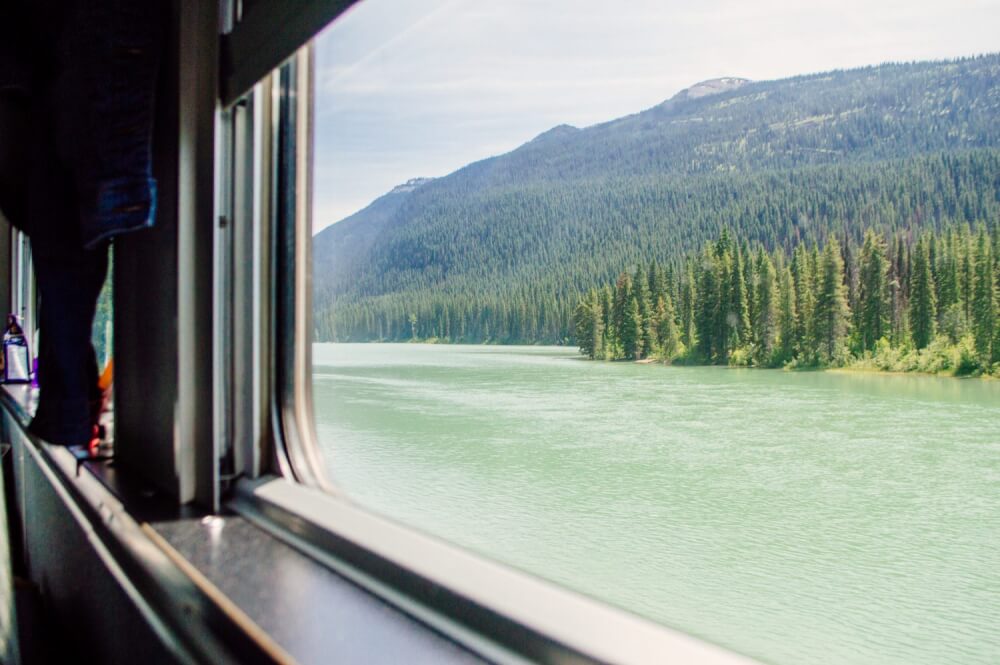
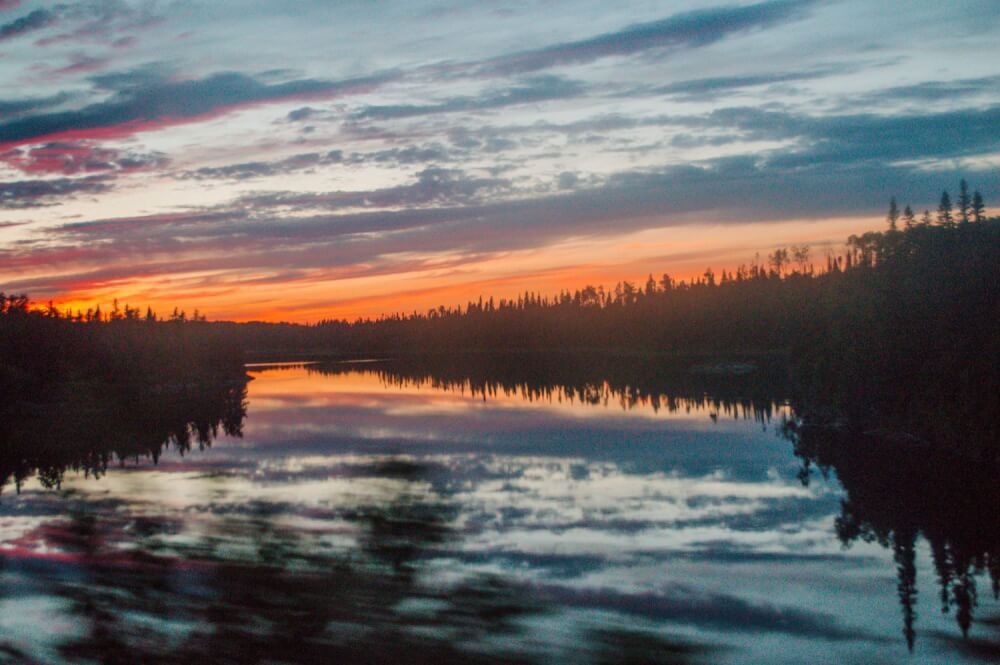
Chugging through Western Ontario meant a lot of lakes and greenery…
Stop 4: Toronto
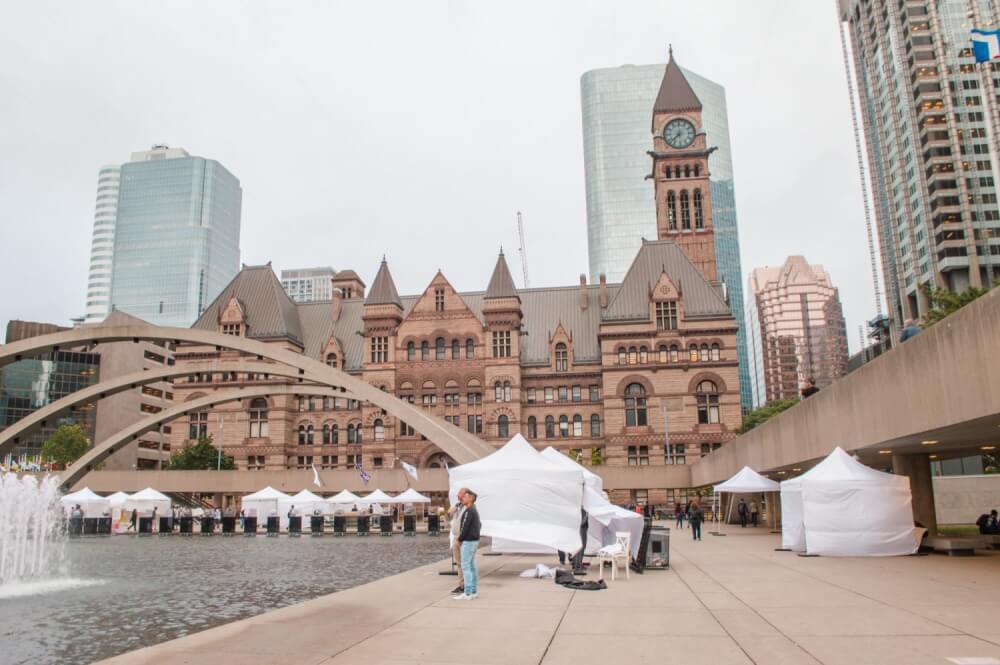
… and then I found myself back in big city territory, this time – Toronto!
My time in Toronto was brief, but significantly more eventful than my first visit as a frumpy 10 year old. In a whirlwind 24 hours, I ate more and caught up with more friends I thought was physically possible. I left with a full heart and a full stomach.
Stop 5: Montréal
The last time I visited Montréal, I was dressed like a human marshmallow, shuffling through icy snow as painful air (yes, you read that right) threw sharp wind daggers at my face. It was the worst.
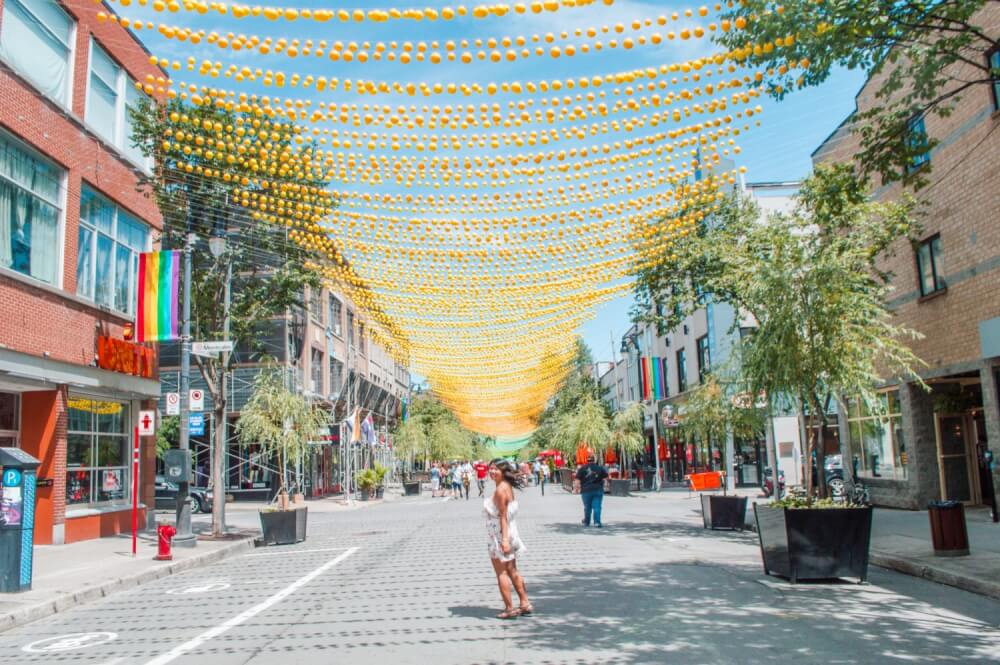
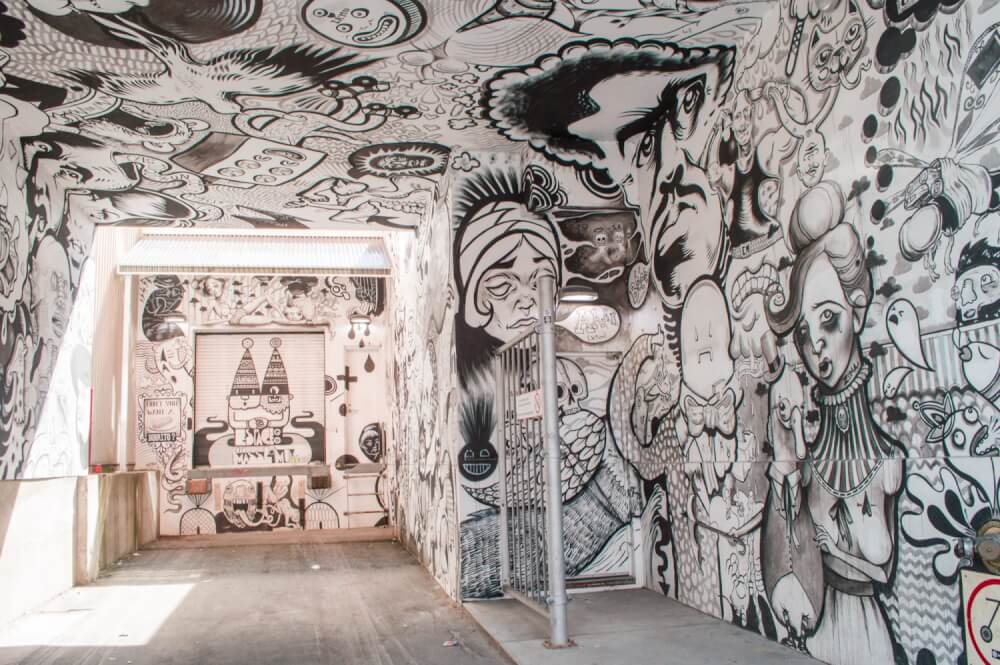
Montréal in the summer was like a whole different planet. Every two blocks, there was a vibrant festival, and I spent a few days hopping through the colourful streets, filling my belly and admiring just how impossibly alive the whole city was. Before long, I was off to Halifax!
Stop 6: Halifax
Hopping on board the Ocean for a solid 22 hours, I ended up in Halifax.
Nova Scotia is one of those places I’ve always been nostalgic for, despite having never visited. I blame it on too many folk songs as a kid.
Seeing it in person was better than I could have ever dreamt, in spite of the murdery fog. I saw Peggy’s Cove, did a bunch of shamelessly touristy stuff and purposefully booked my accommodation to be near a good Donair place. Even typing that I feel confident I did Halifax justice.


BONUS: Prince Edward Island
And last but not least, what was the absolute highlight? This one doesn’t quite count because I didn’t get there by train, but somehow, in this crazy world of 7 billion people, I managed to link up with four friends on board just as nuts as me.
We met on the train en route to Halifax, made car bookings on board through spotty cell reception, and less than 24 hours within meeting, we found ourselves cozy in a cabin on Prince Edward Island together.
PEI is truly a province I never expected to see with my own two eyes. It’s Canada’s smallest province, a little dot on the Canadian map, floating by its lonesome in the Atlantic. And guess what? It was more stunning than I could have ever imagined.


You know, people always travel far away in search of beauty and incredible experiences.
This cross-Canada train trip made me realize just how much beauty was lurking in my own backyard.
Oh Canada, I choo choo choose you.
I Hope This Step by Step Guide on Taking Trains in Canada was Helpful!
Let me know in the comments if you have any more questions.

